[Crafts & DIY] Prayer Notebook

To be completely honest, I’m still in the midst of settling into the new year.

I’ve yet to get my 2015 planner and set my goals for the year. In fact, I’ve not even sat down for a deep, introspective reflection of the past year like I used to. And I have half written blogposts piling up in my draft section.

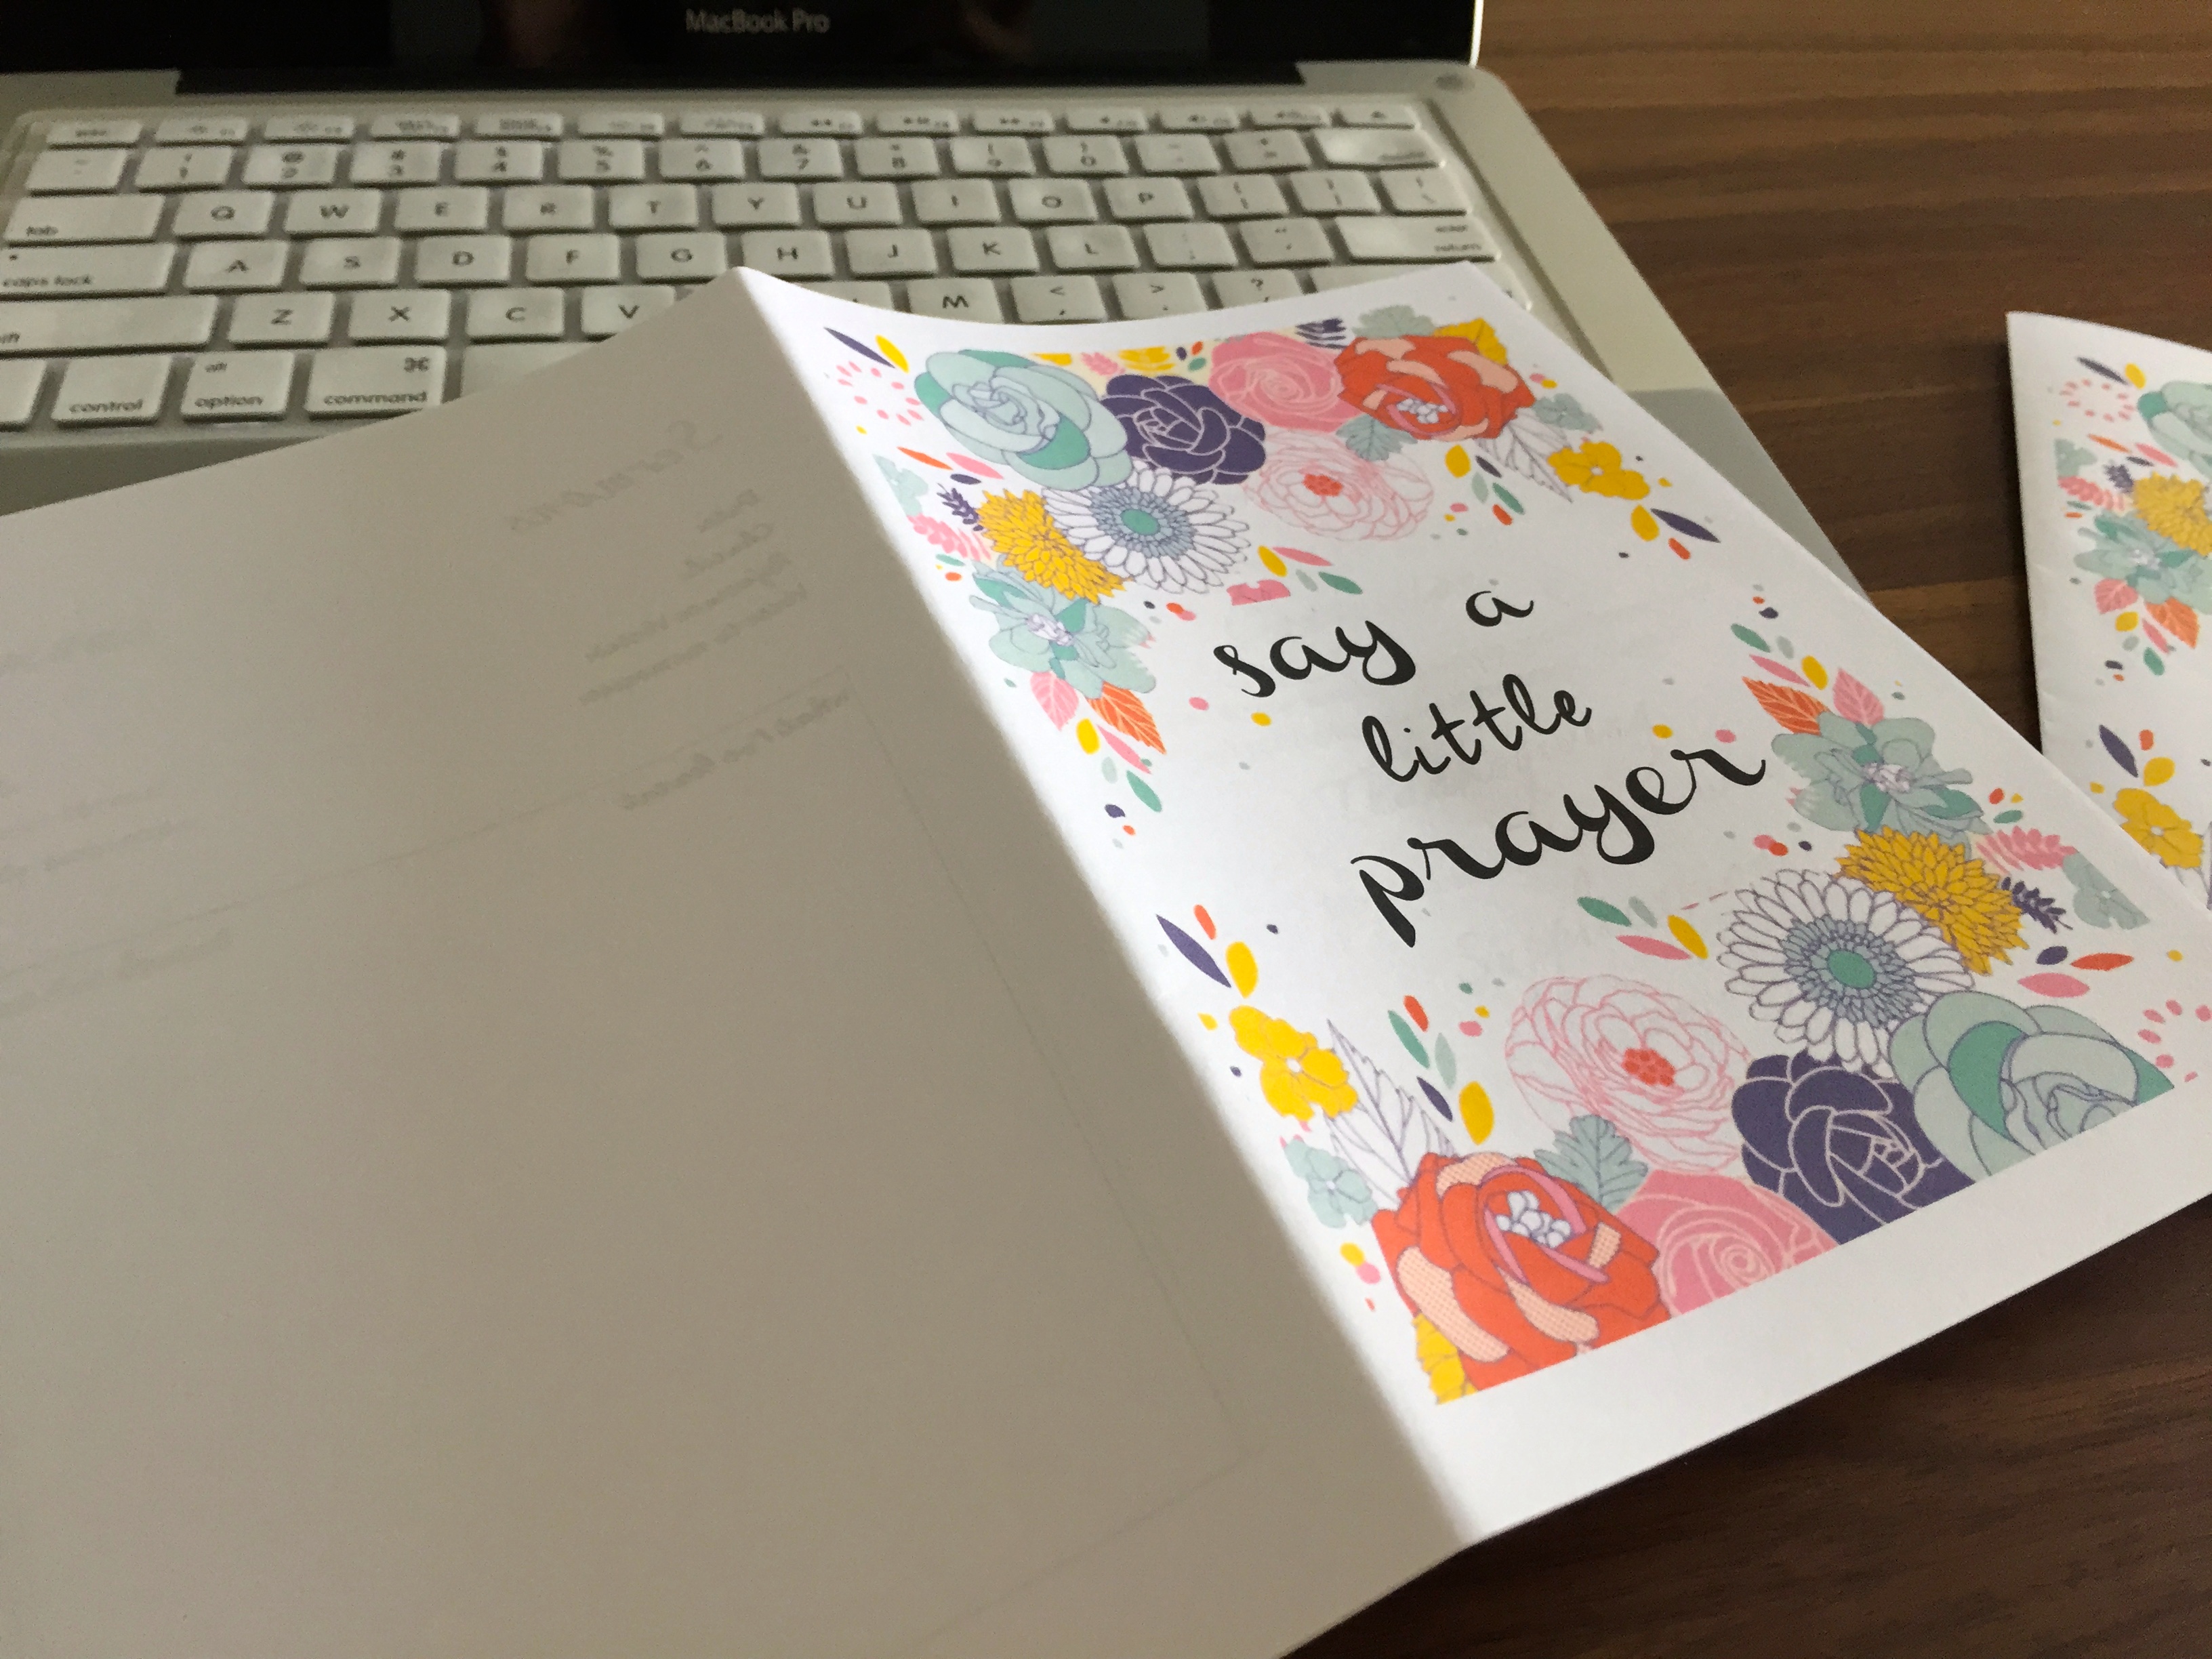
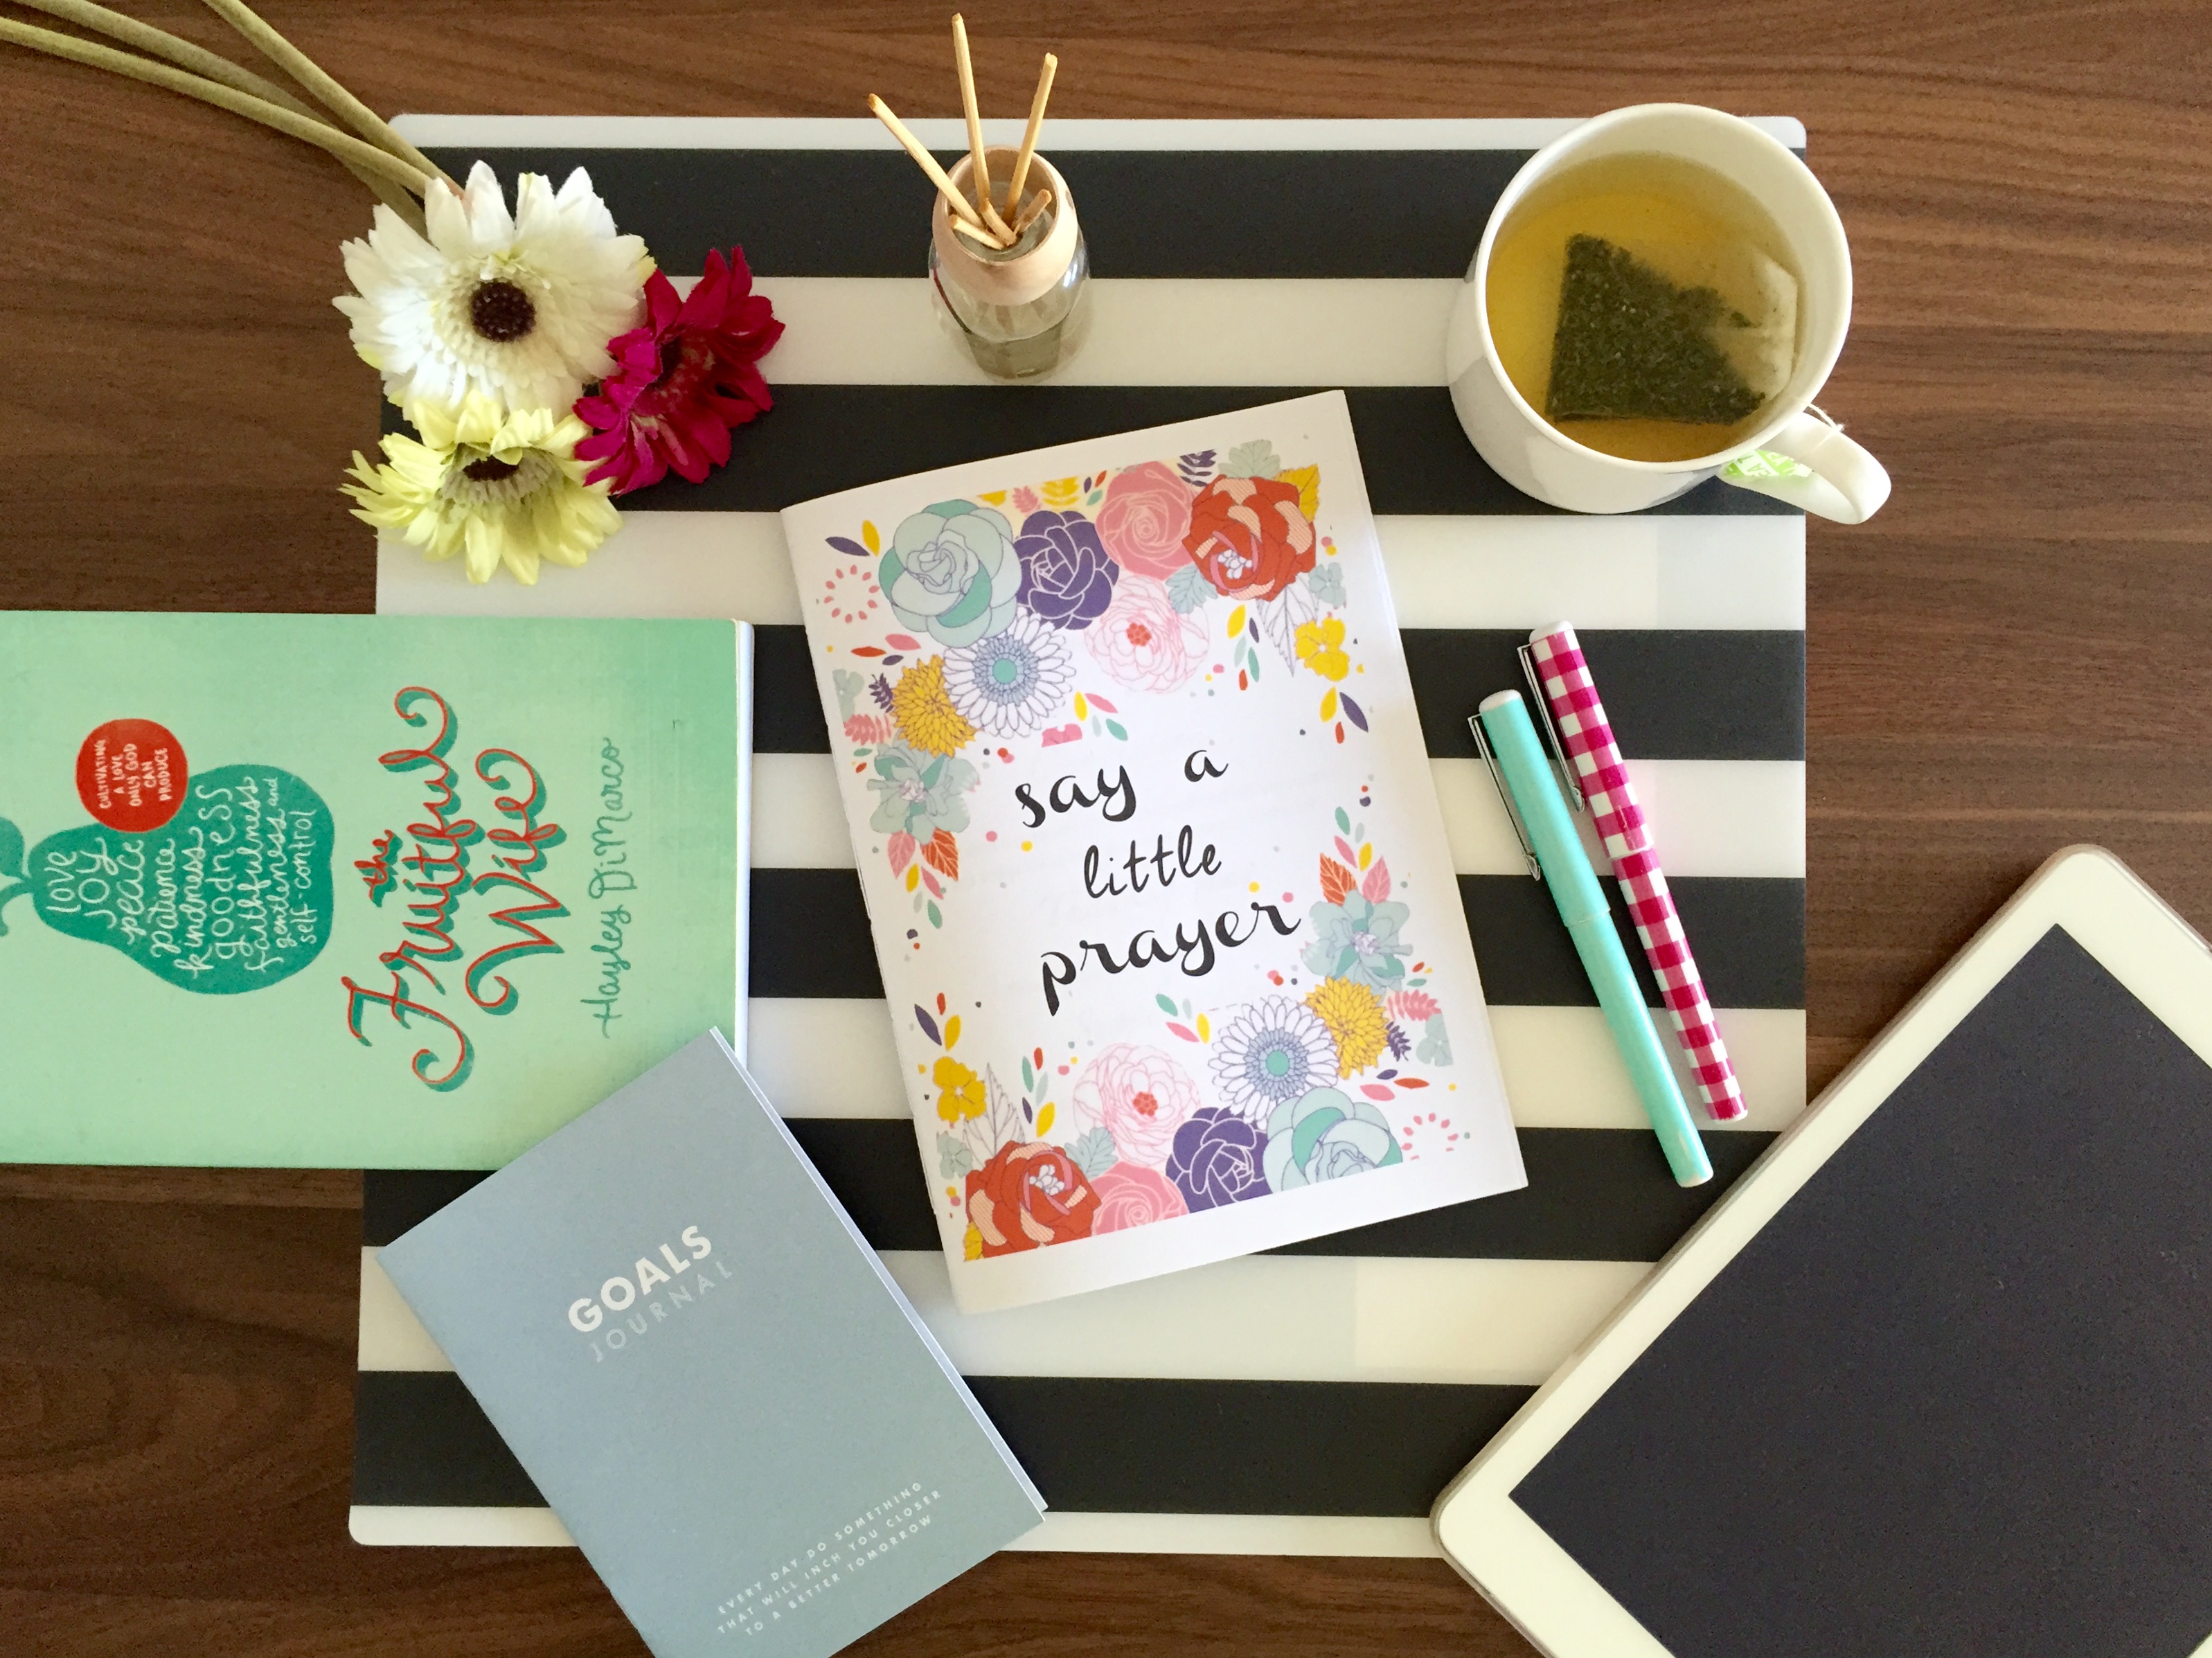
In the midst of researching which planner to get, I came across an Etsy shop selling a pretty looking prayer notebook. When I saw it, I felt a strong urge to buy the printable so that I can quickly sit down with my bible, devotions and the prayer notebook to immerse myself in God’s words again.

Before I managed to fish out my credit card to make payment, it dawned on me that I can actually make it more useful and personal if I spend some time to customise it myself!

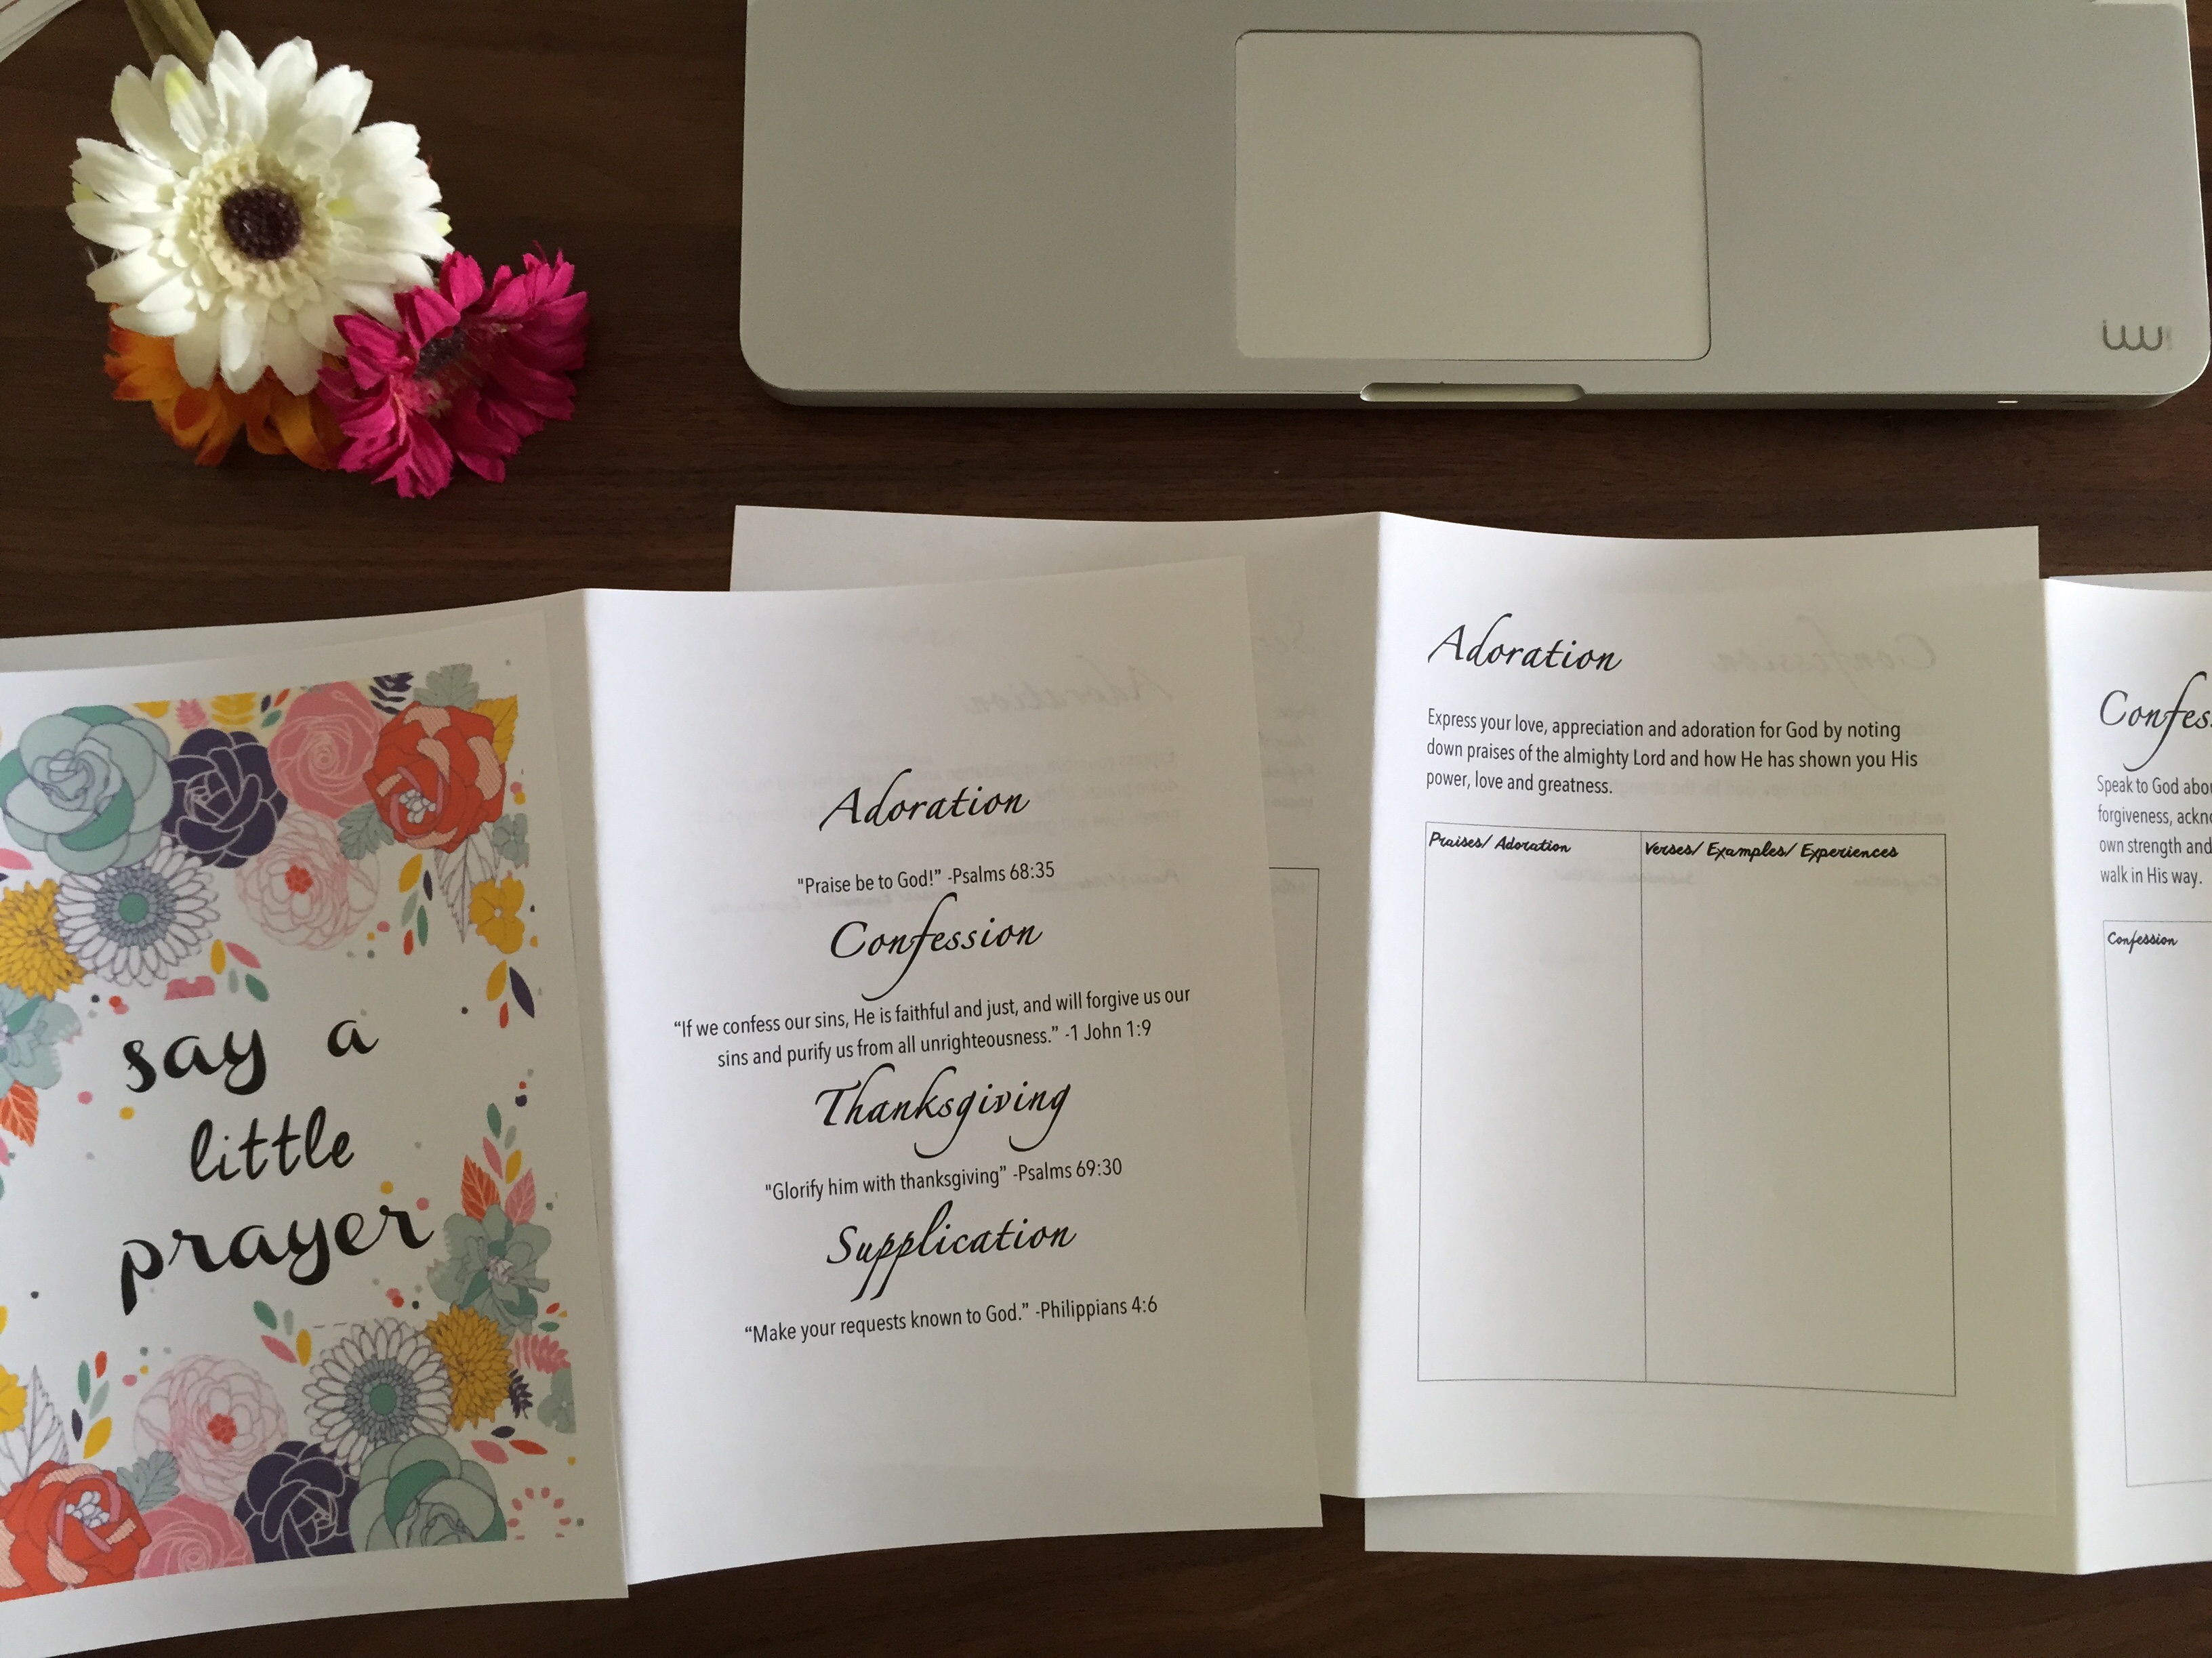
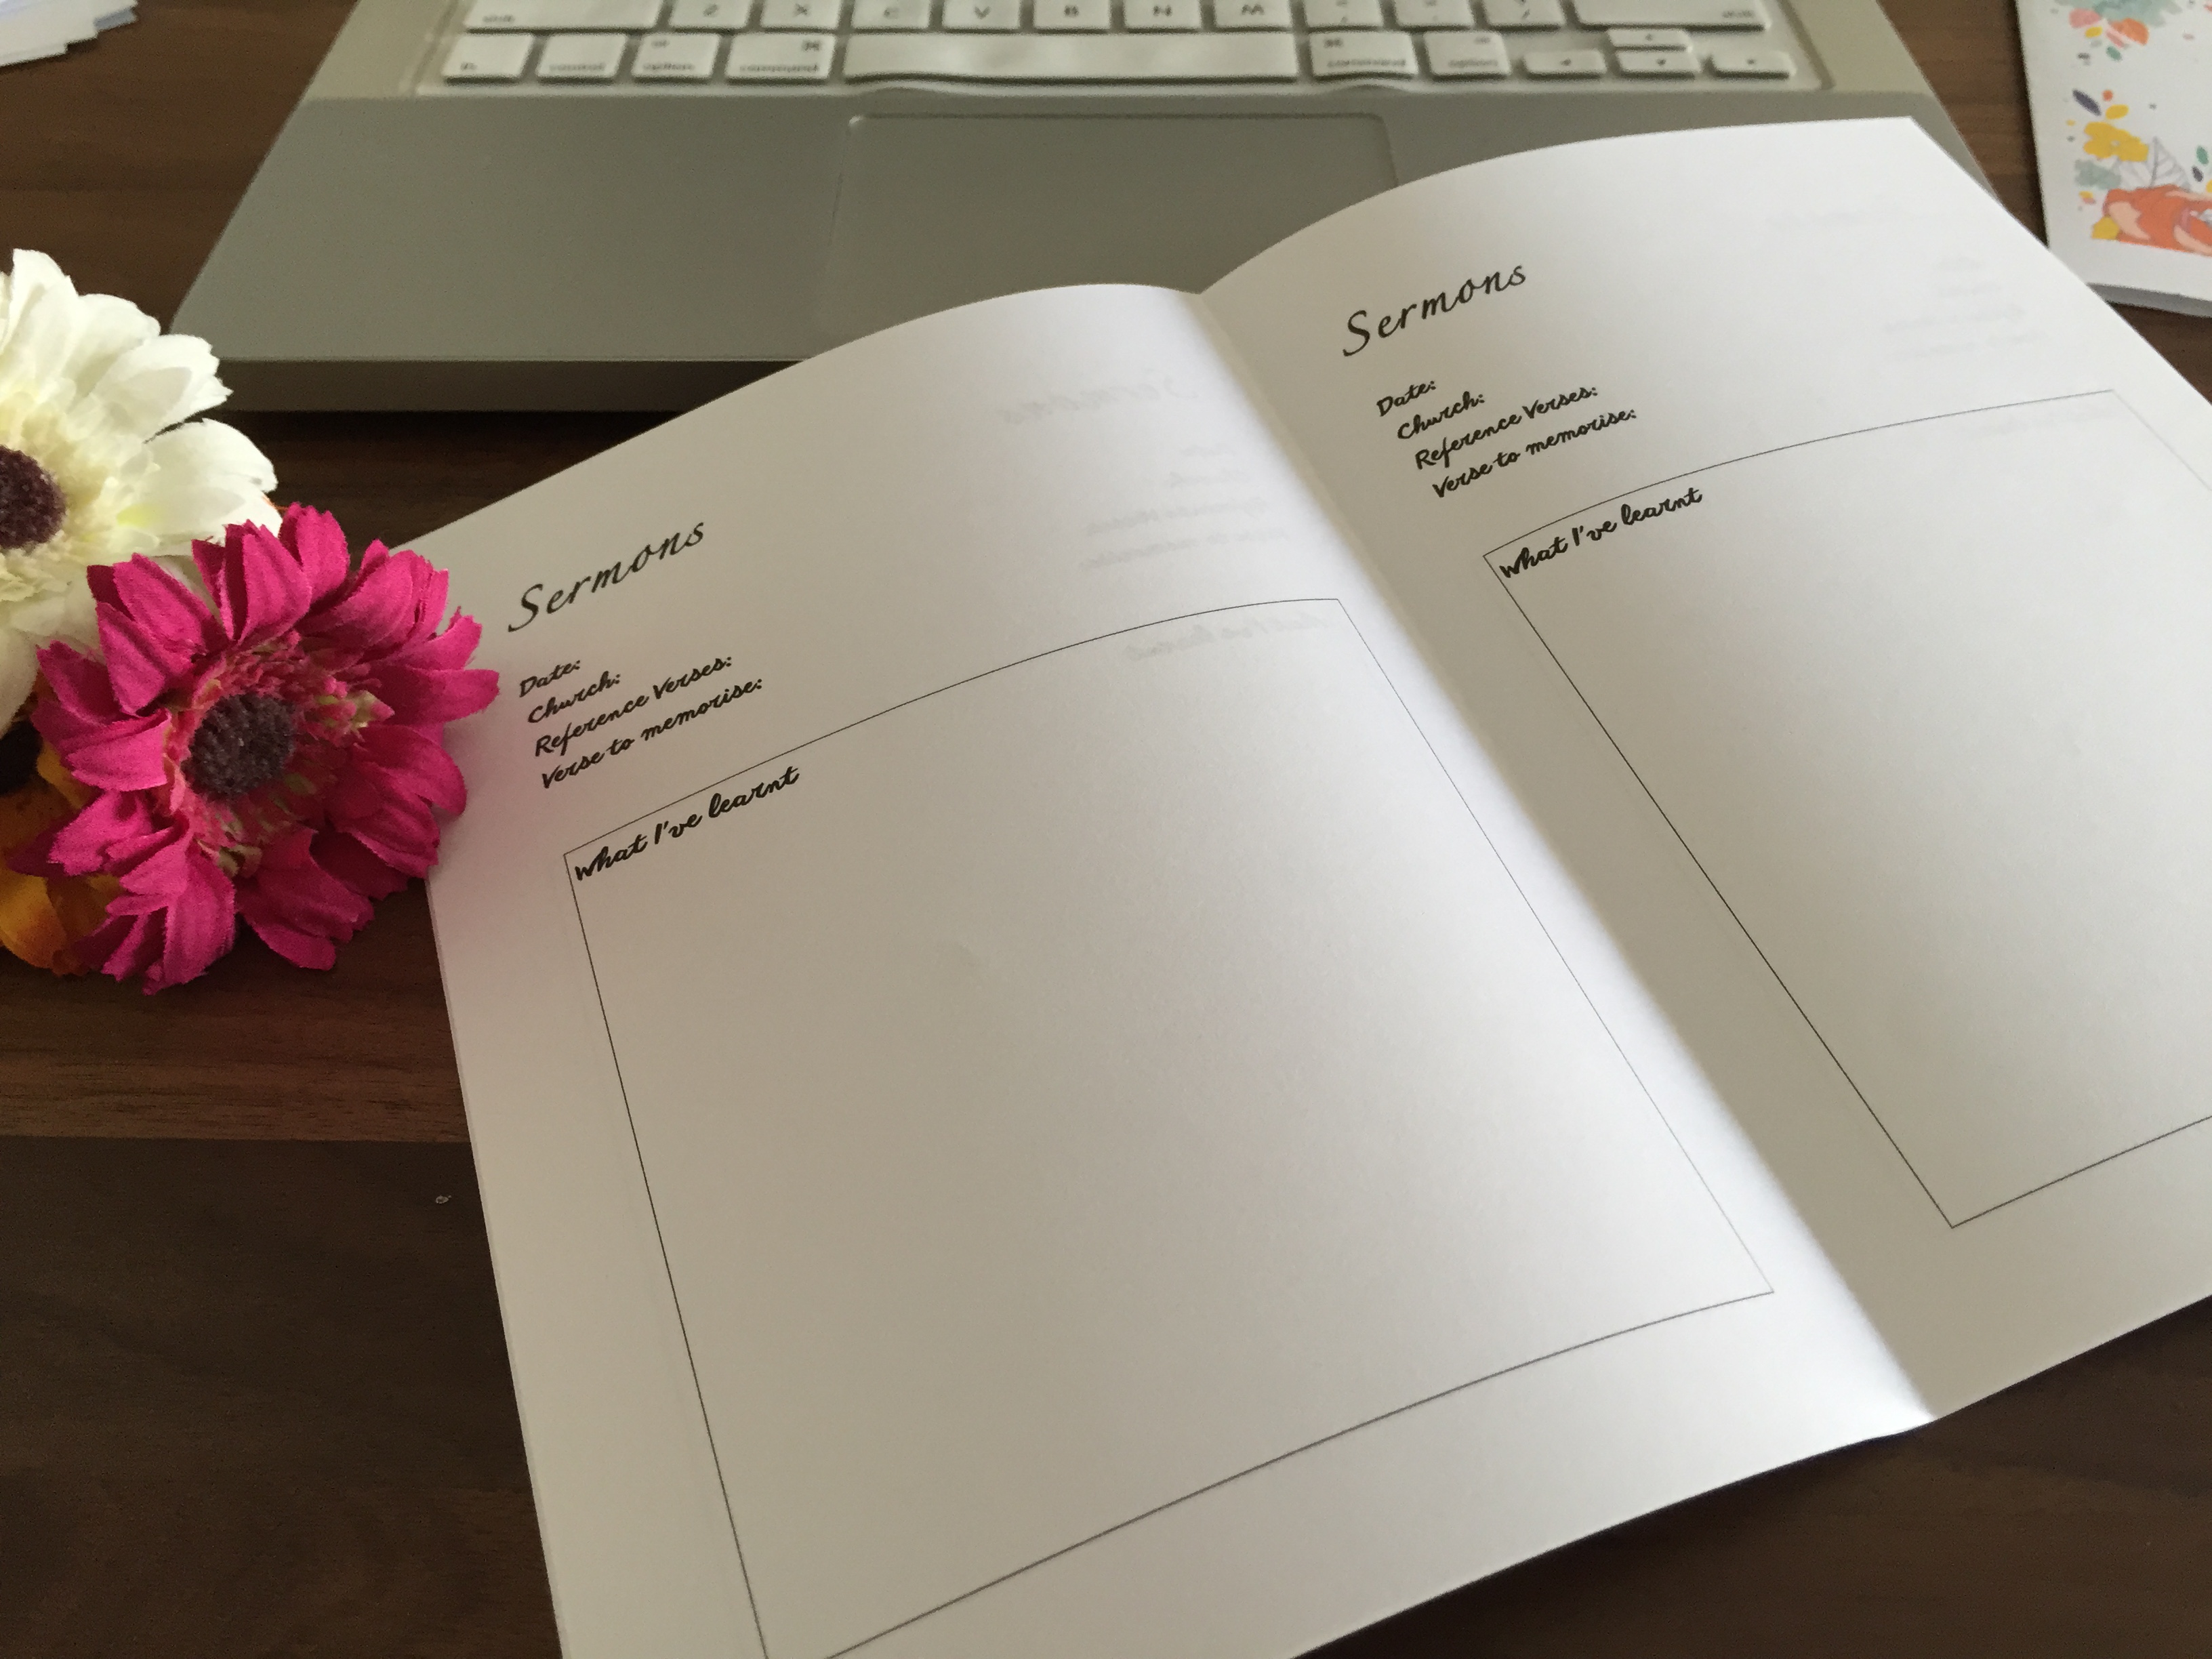
For my customised prayer notebook, I used the “ACTS” prayer method as a guide – Adoration, Confession, Thanksgiving, Supplication. Because very often, I find myself rattling on and on about my “wish list” to God when I pray rather than remembering to give thanks and worship him. I also added a section on Sermons for note-taking during church service.

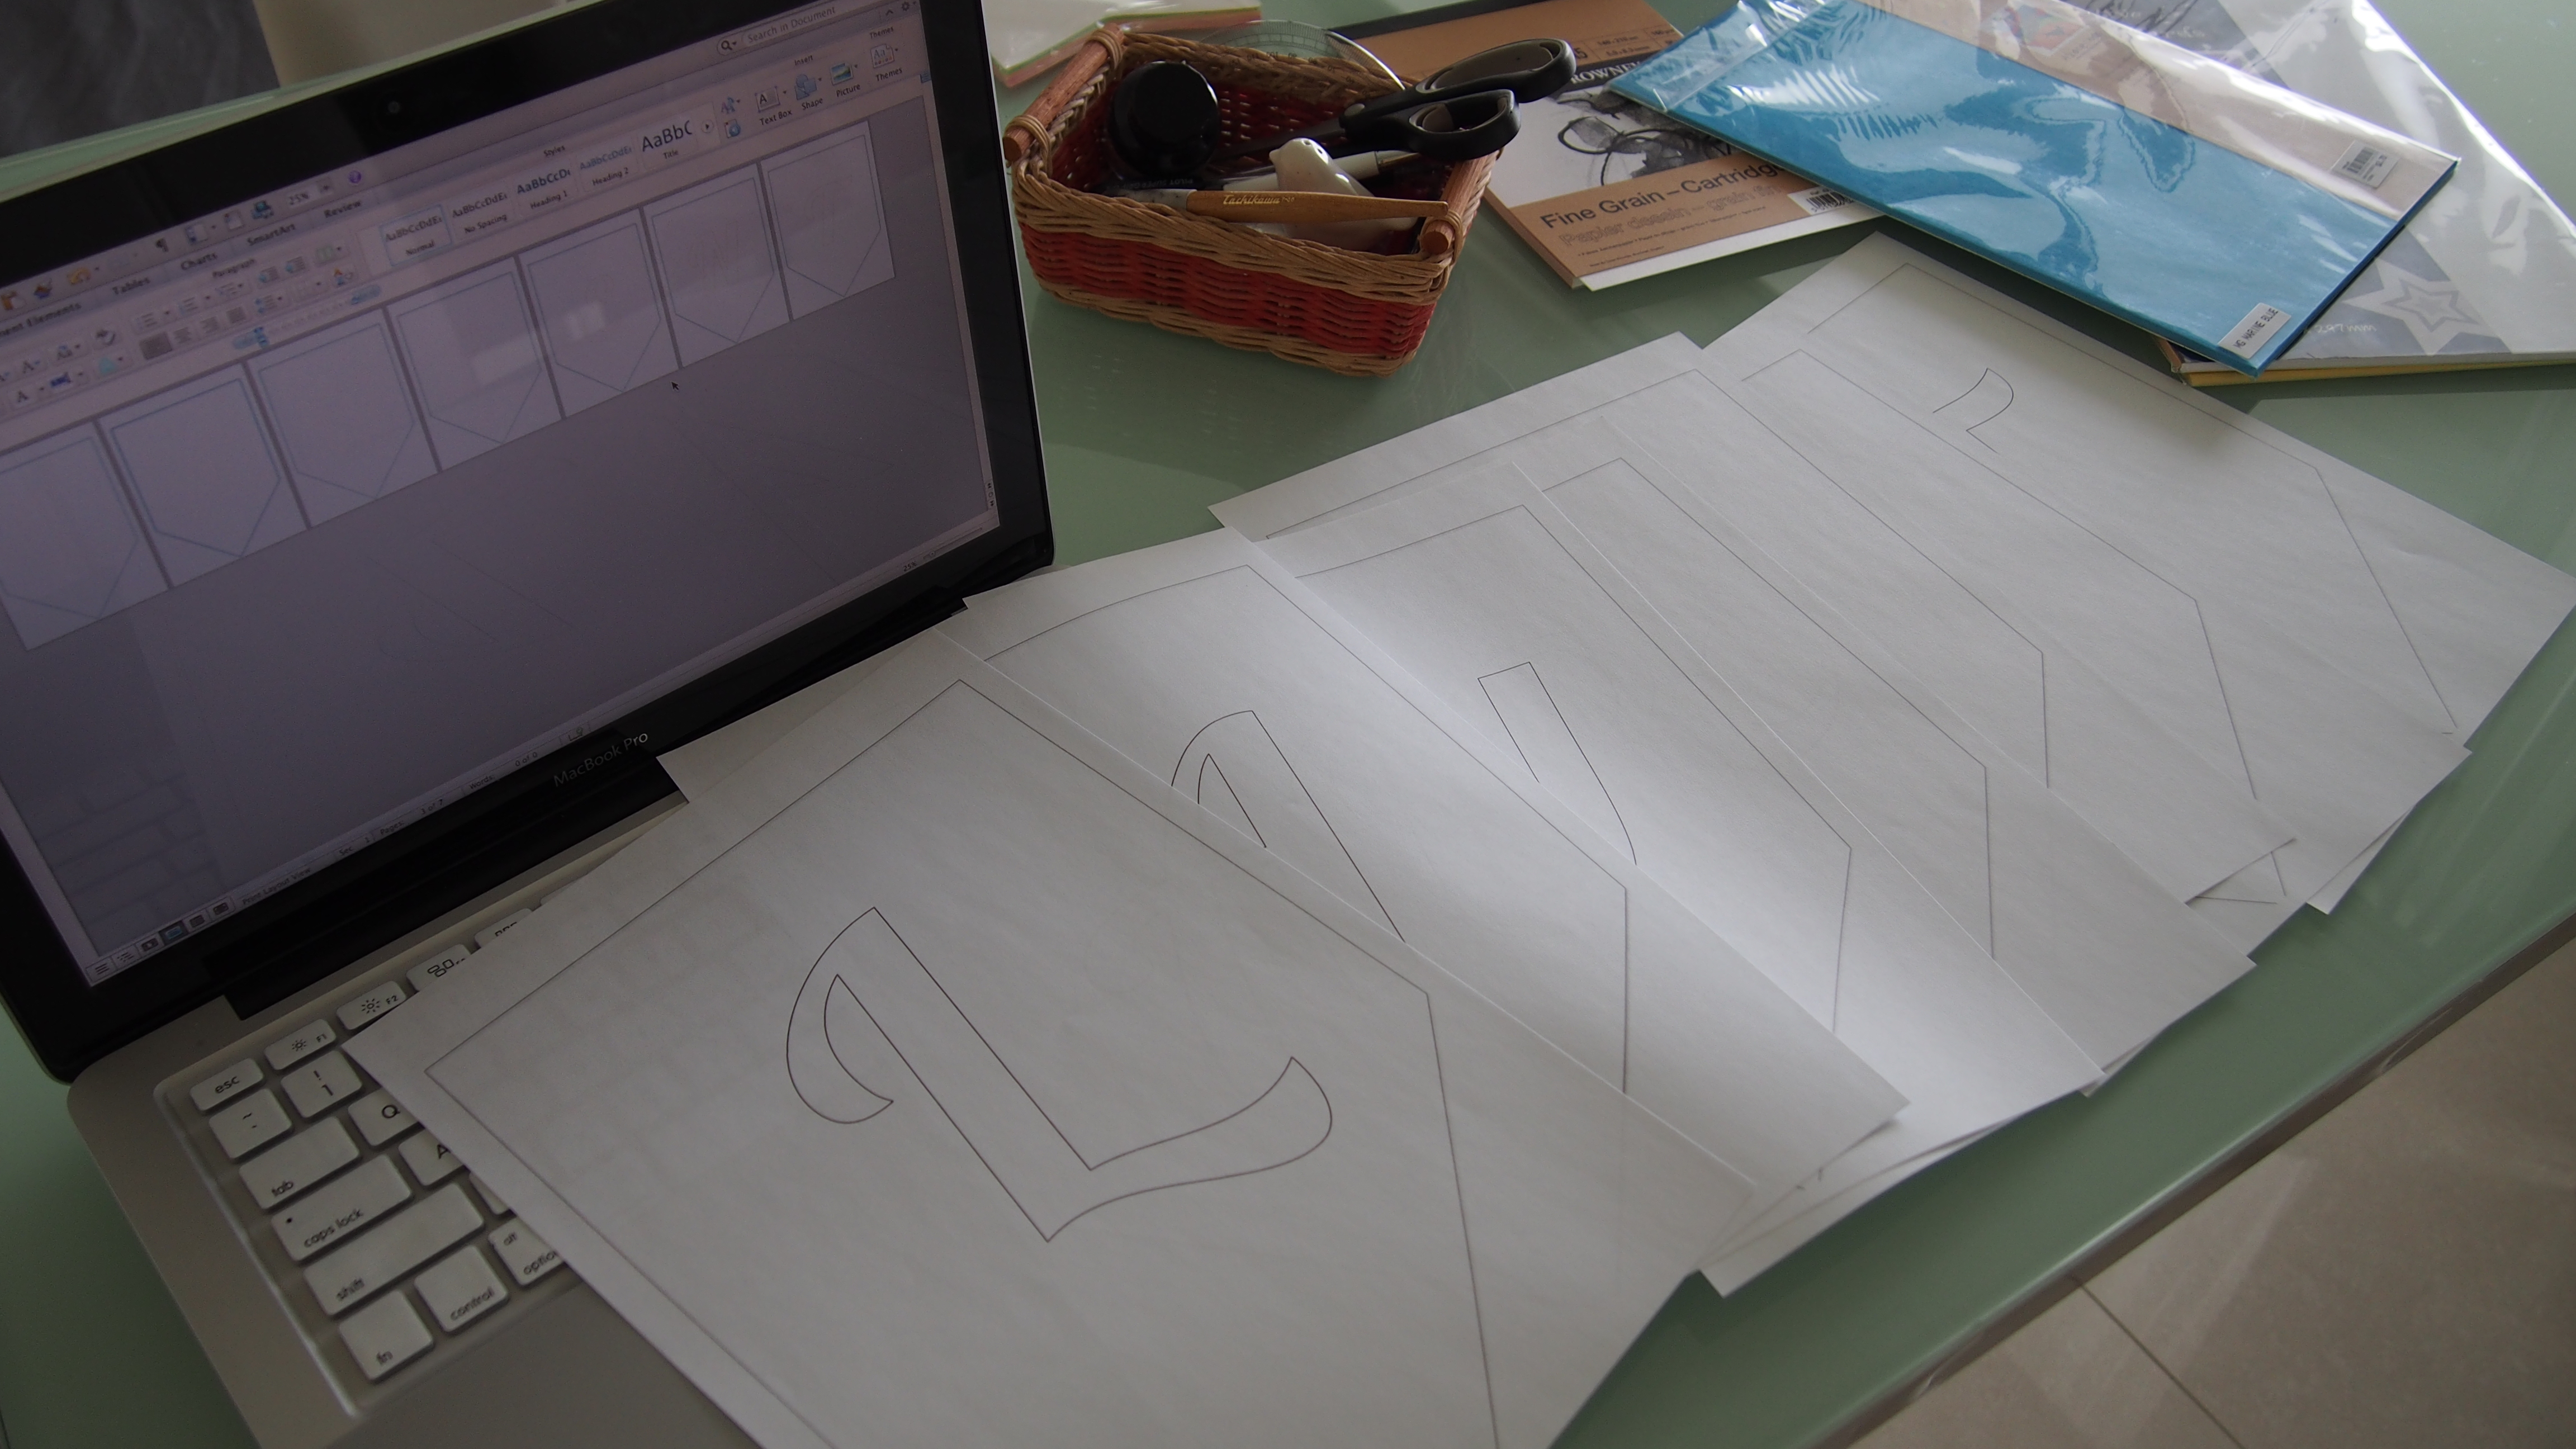
After I designed the notebook on Pages, I printed them out on A4 papers using the “create booklet” option so that I don’t have to manually arrange my pages.

Photo 16-1-15 1 37 12 pm Photo 16-1-15 1 38 35 pmPhoto 16-1-15 1 39 36 pm Photo 16-1-15 1 40 14 pm

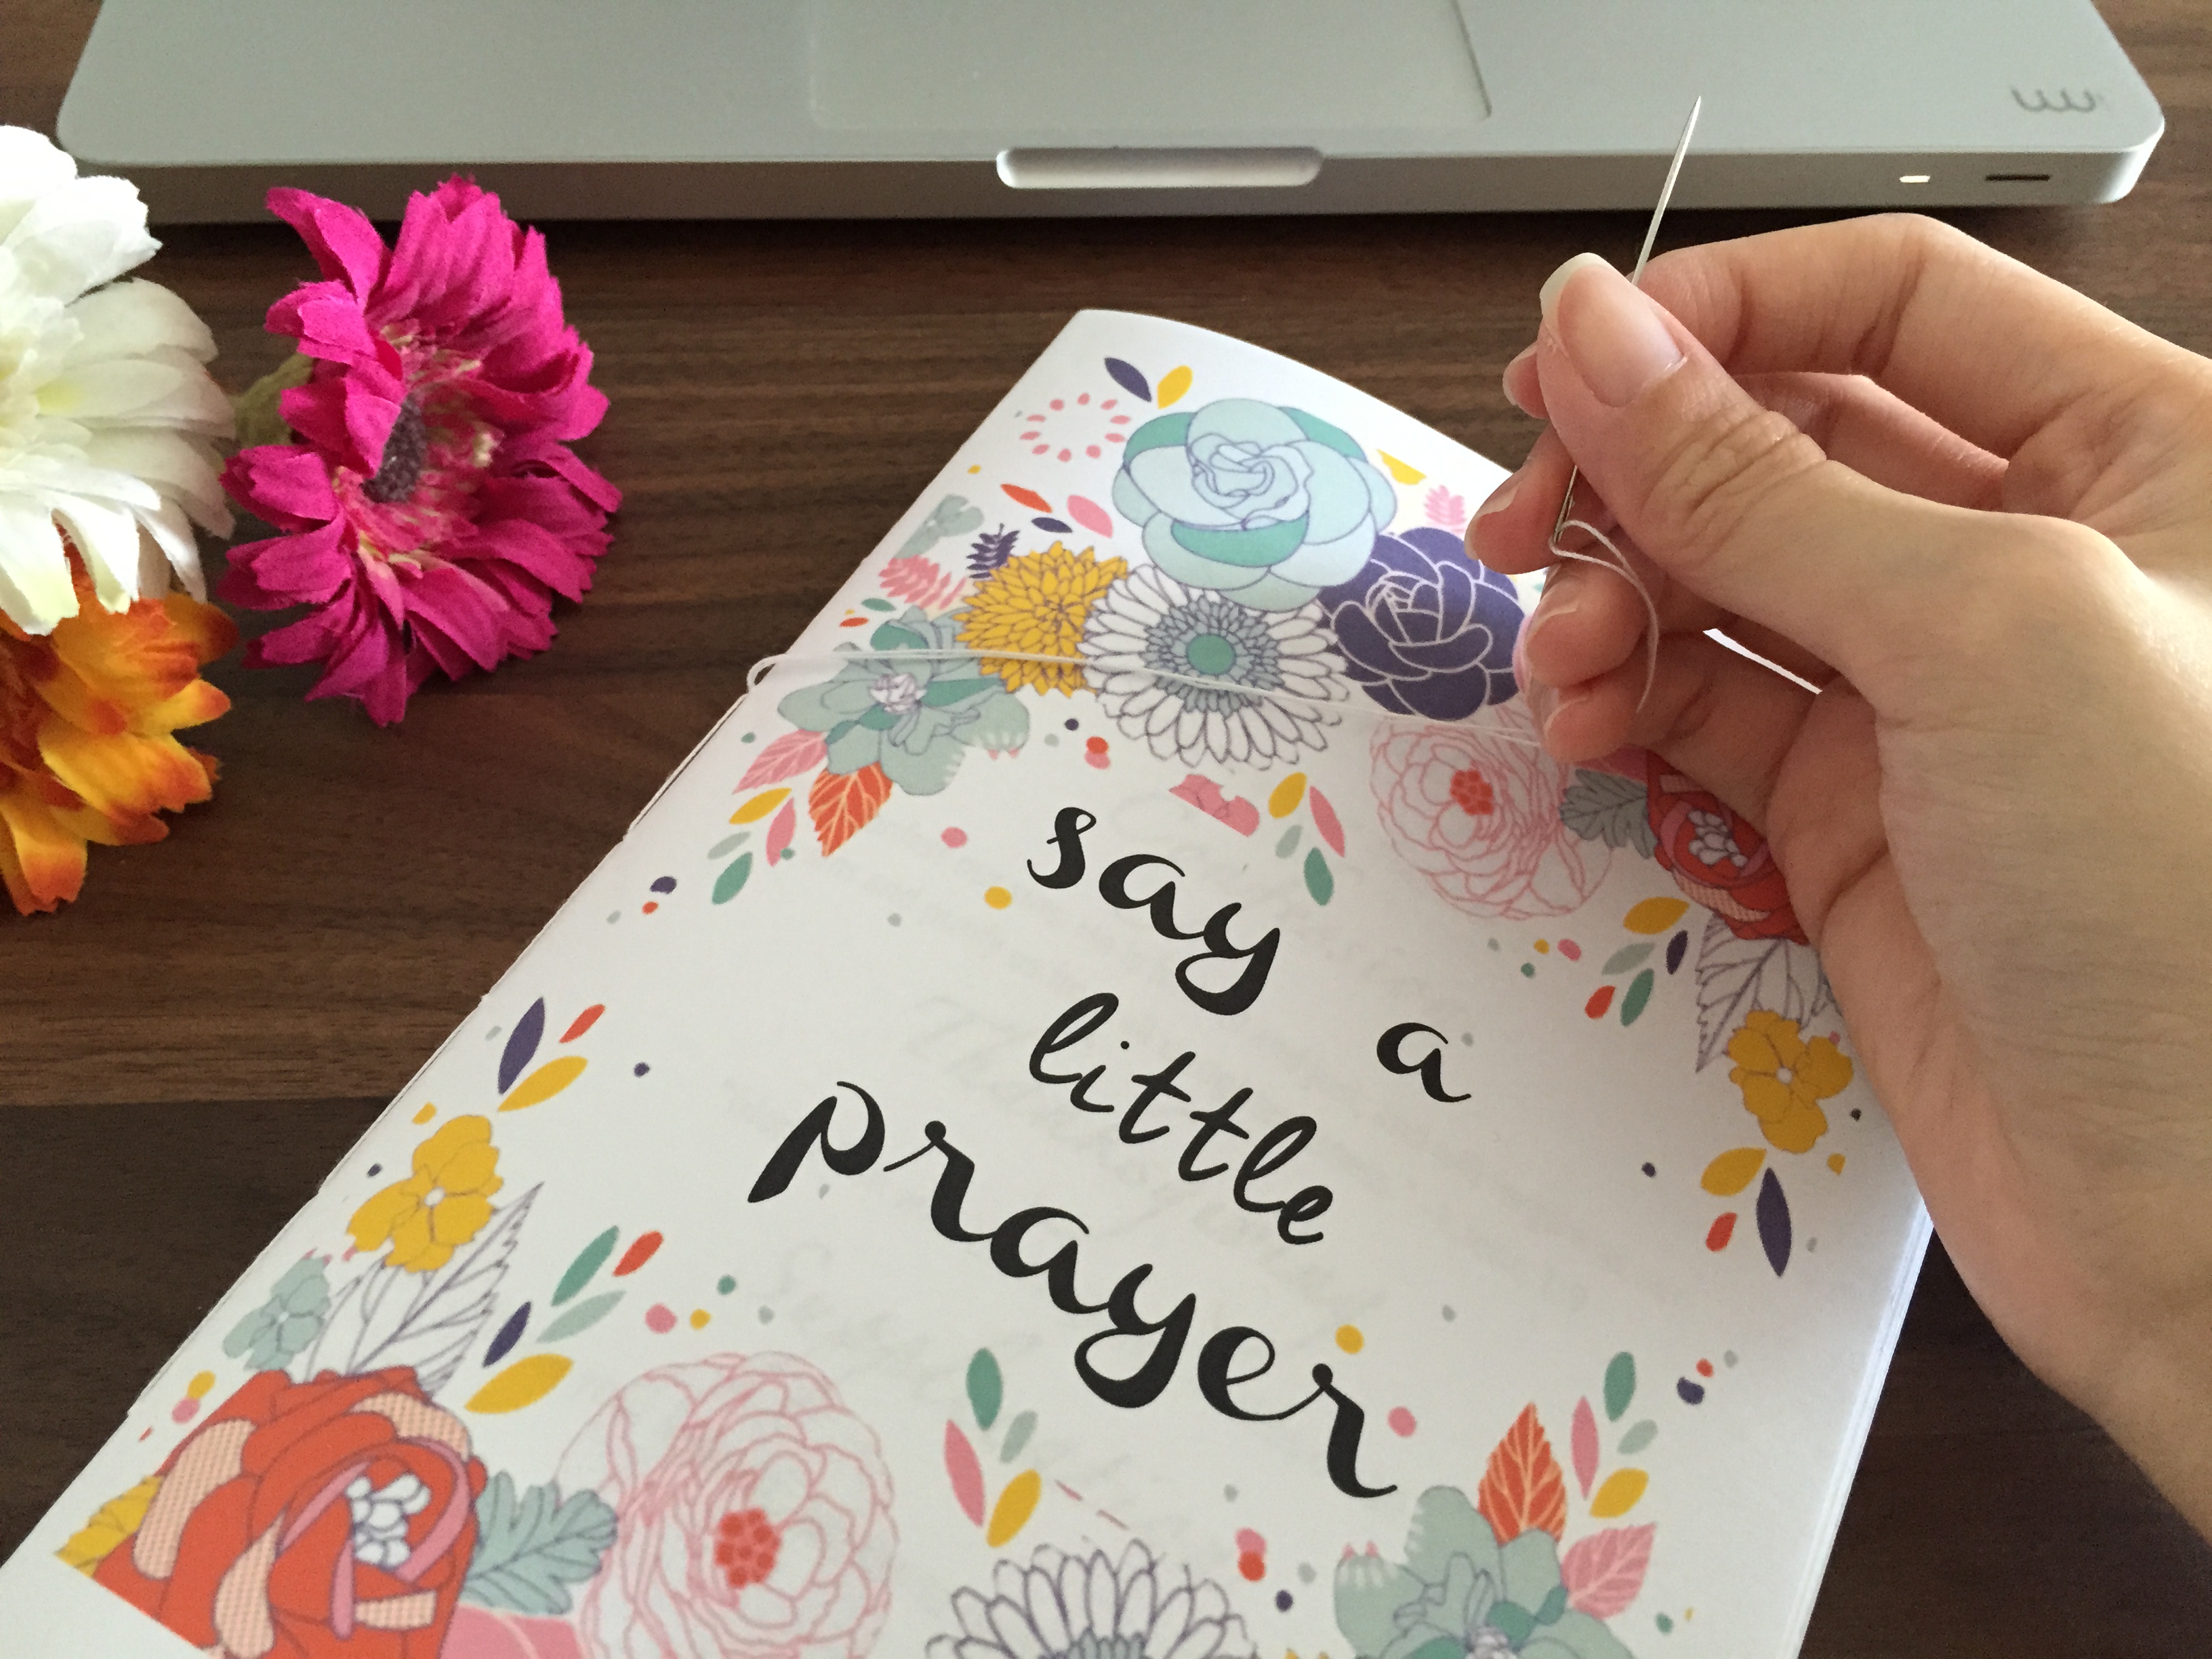
I then hand bound the little booklet with needle and thread.

I poked holes an inch apart using one of the thicker needles.

Photo 16-1-15 1 46 41 pm

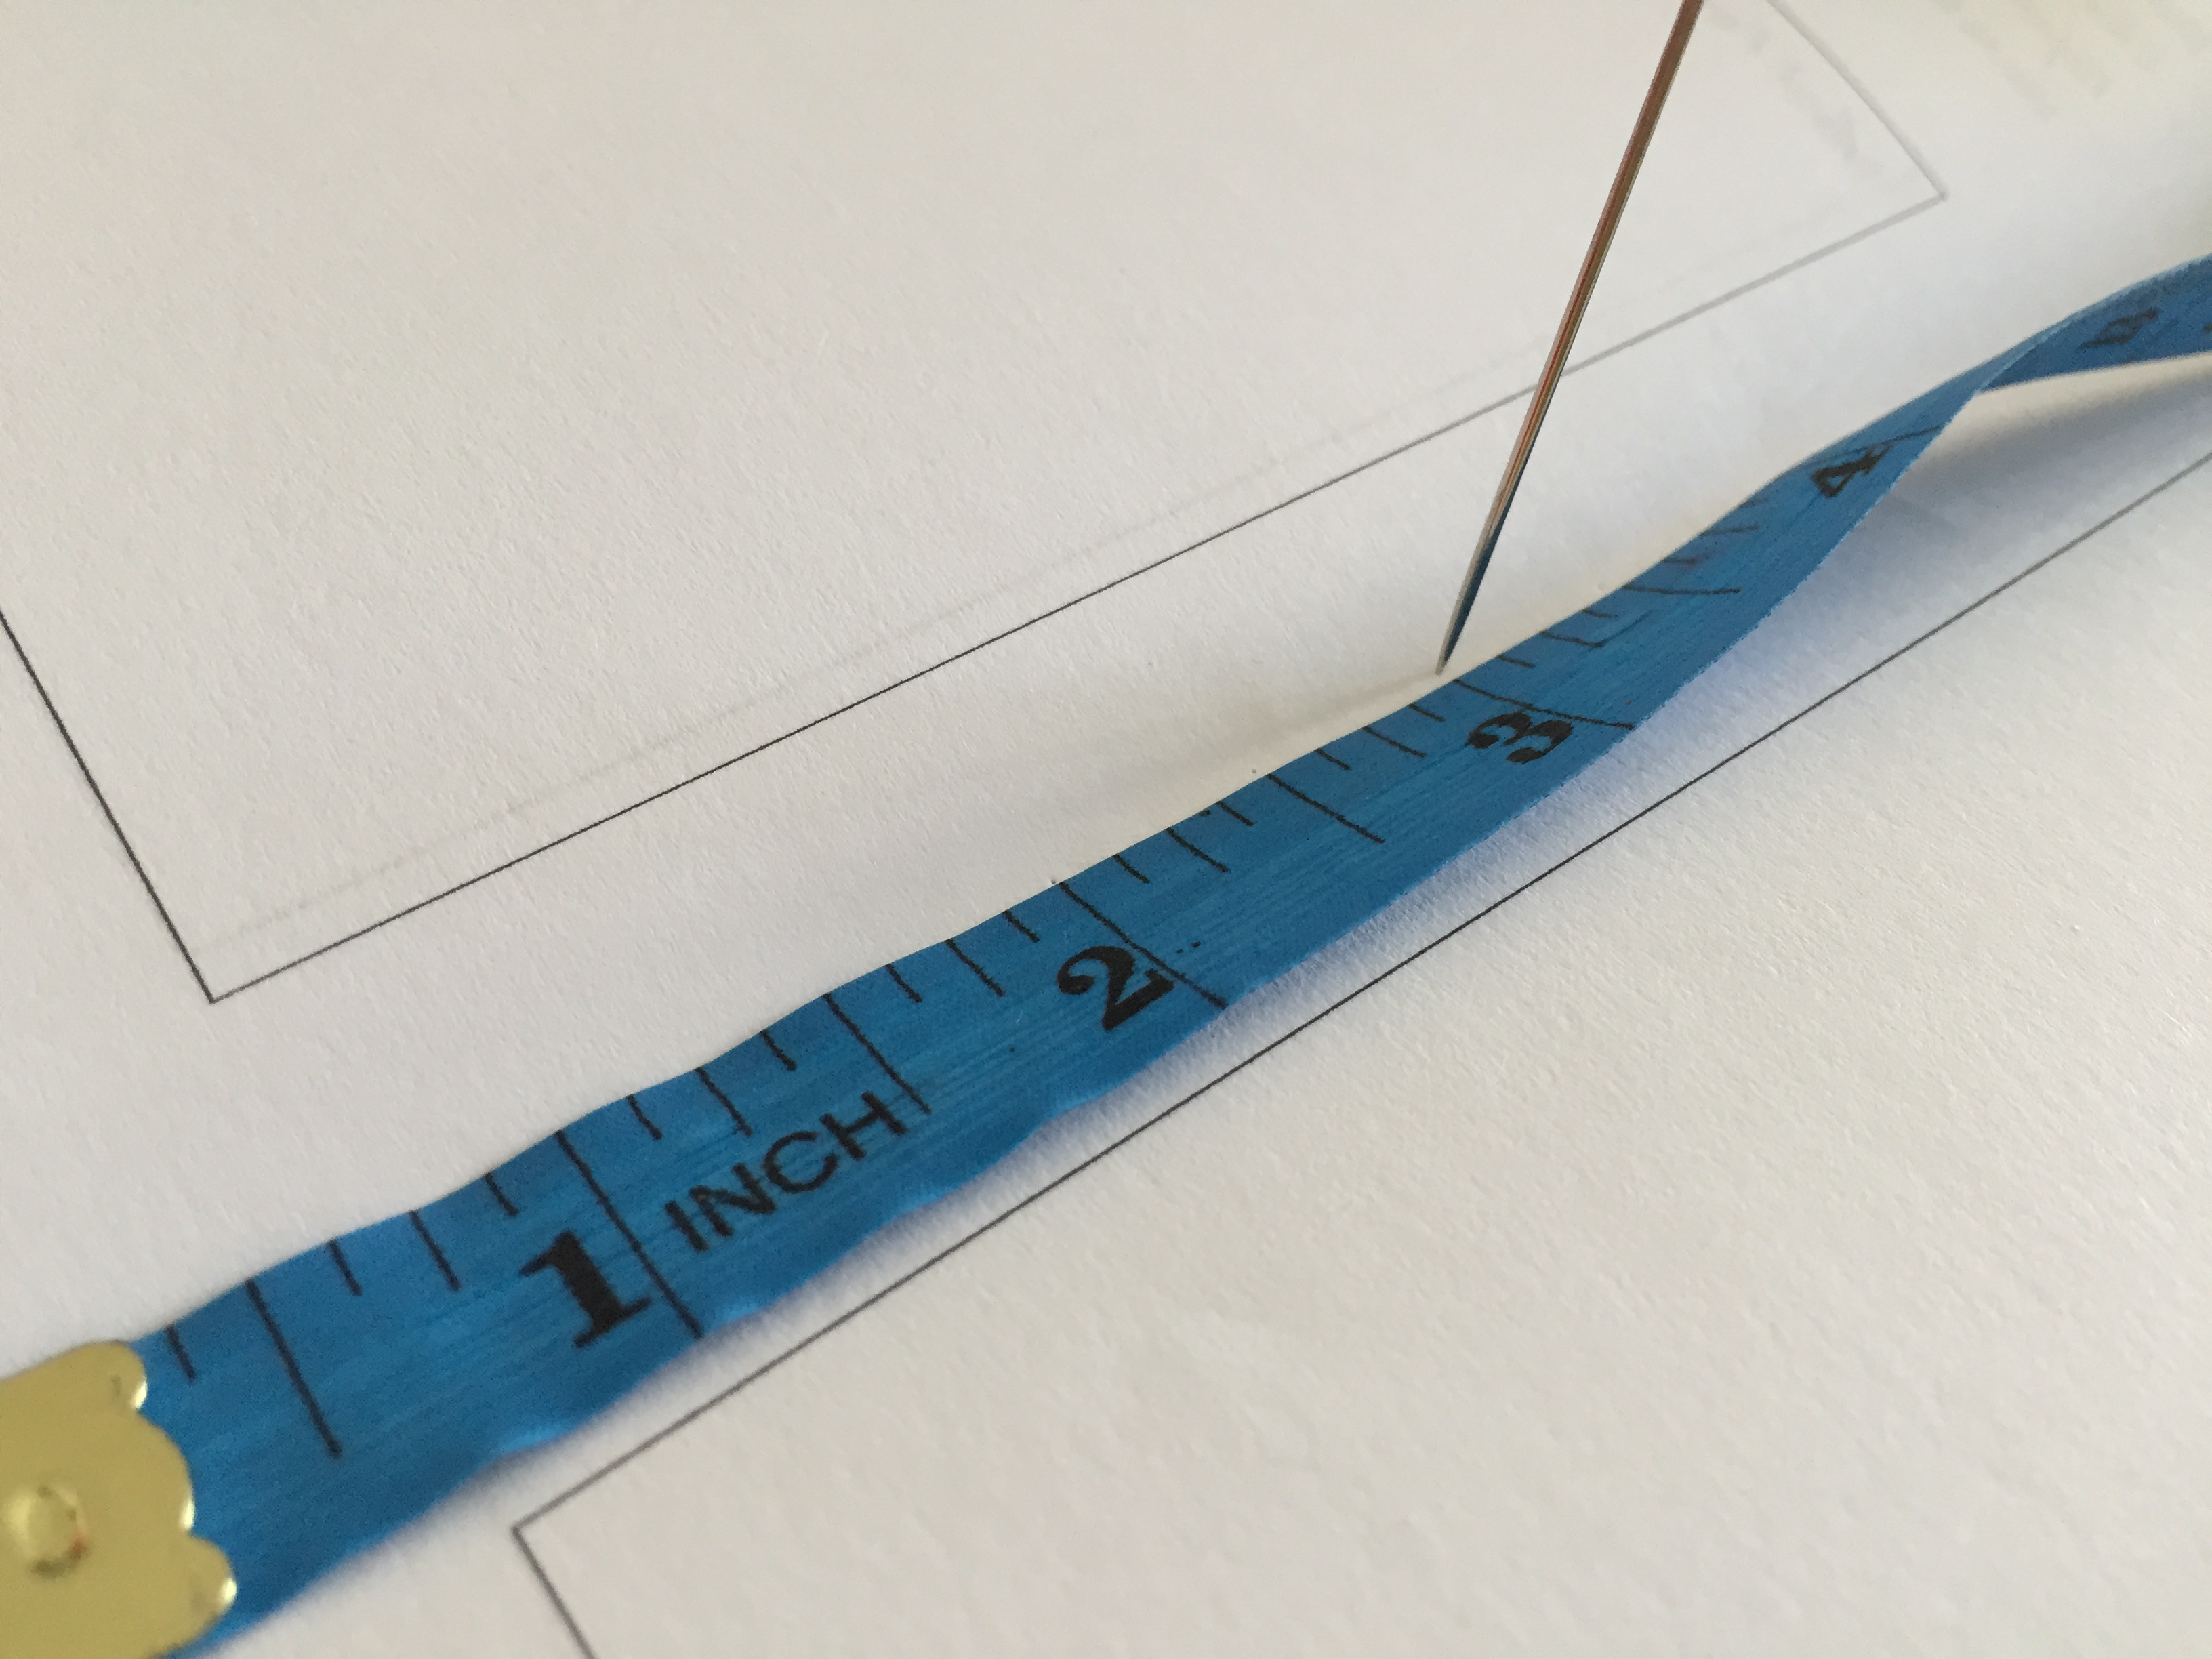
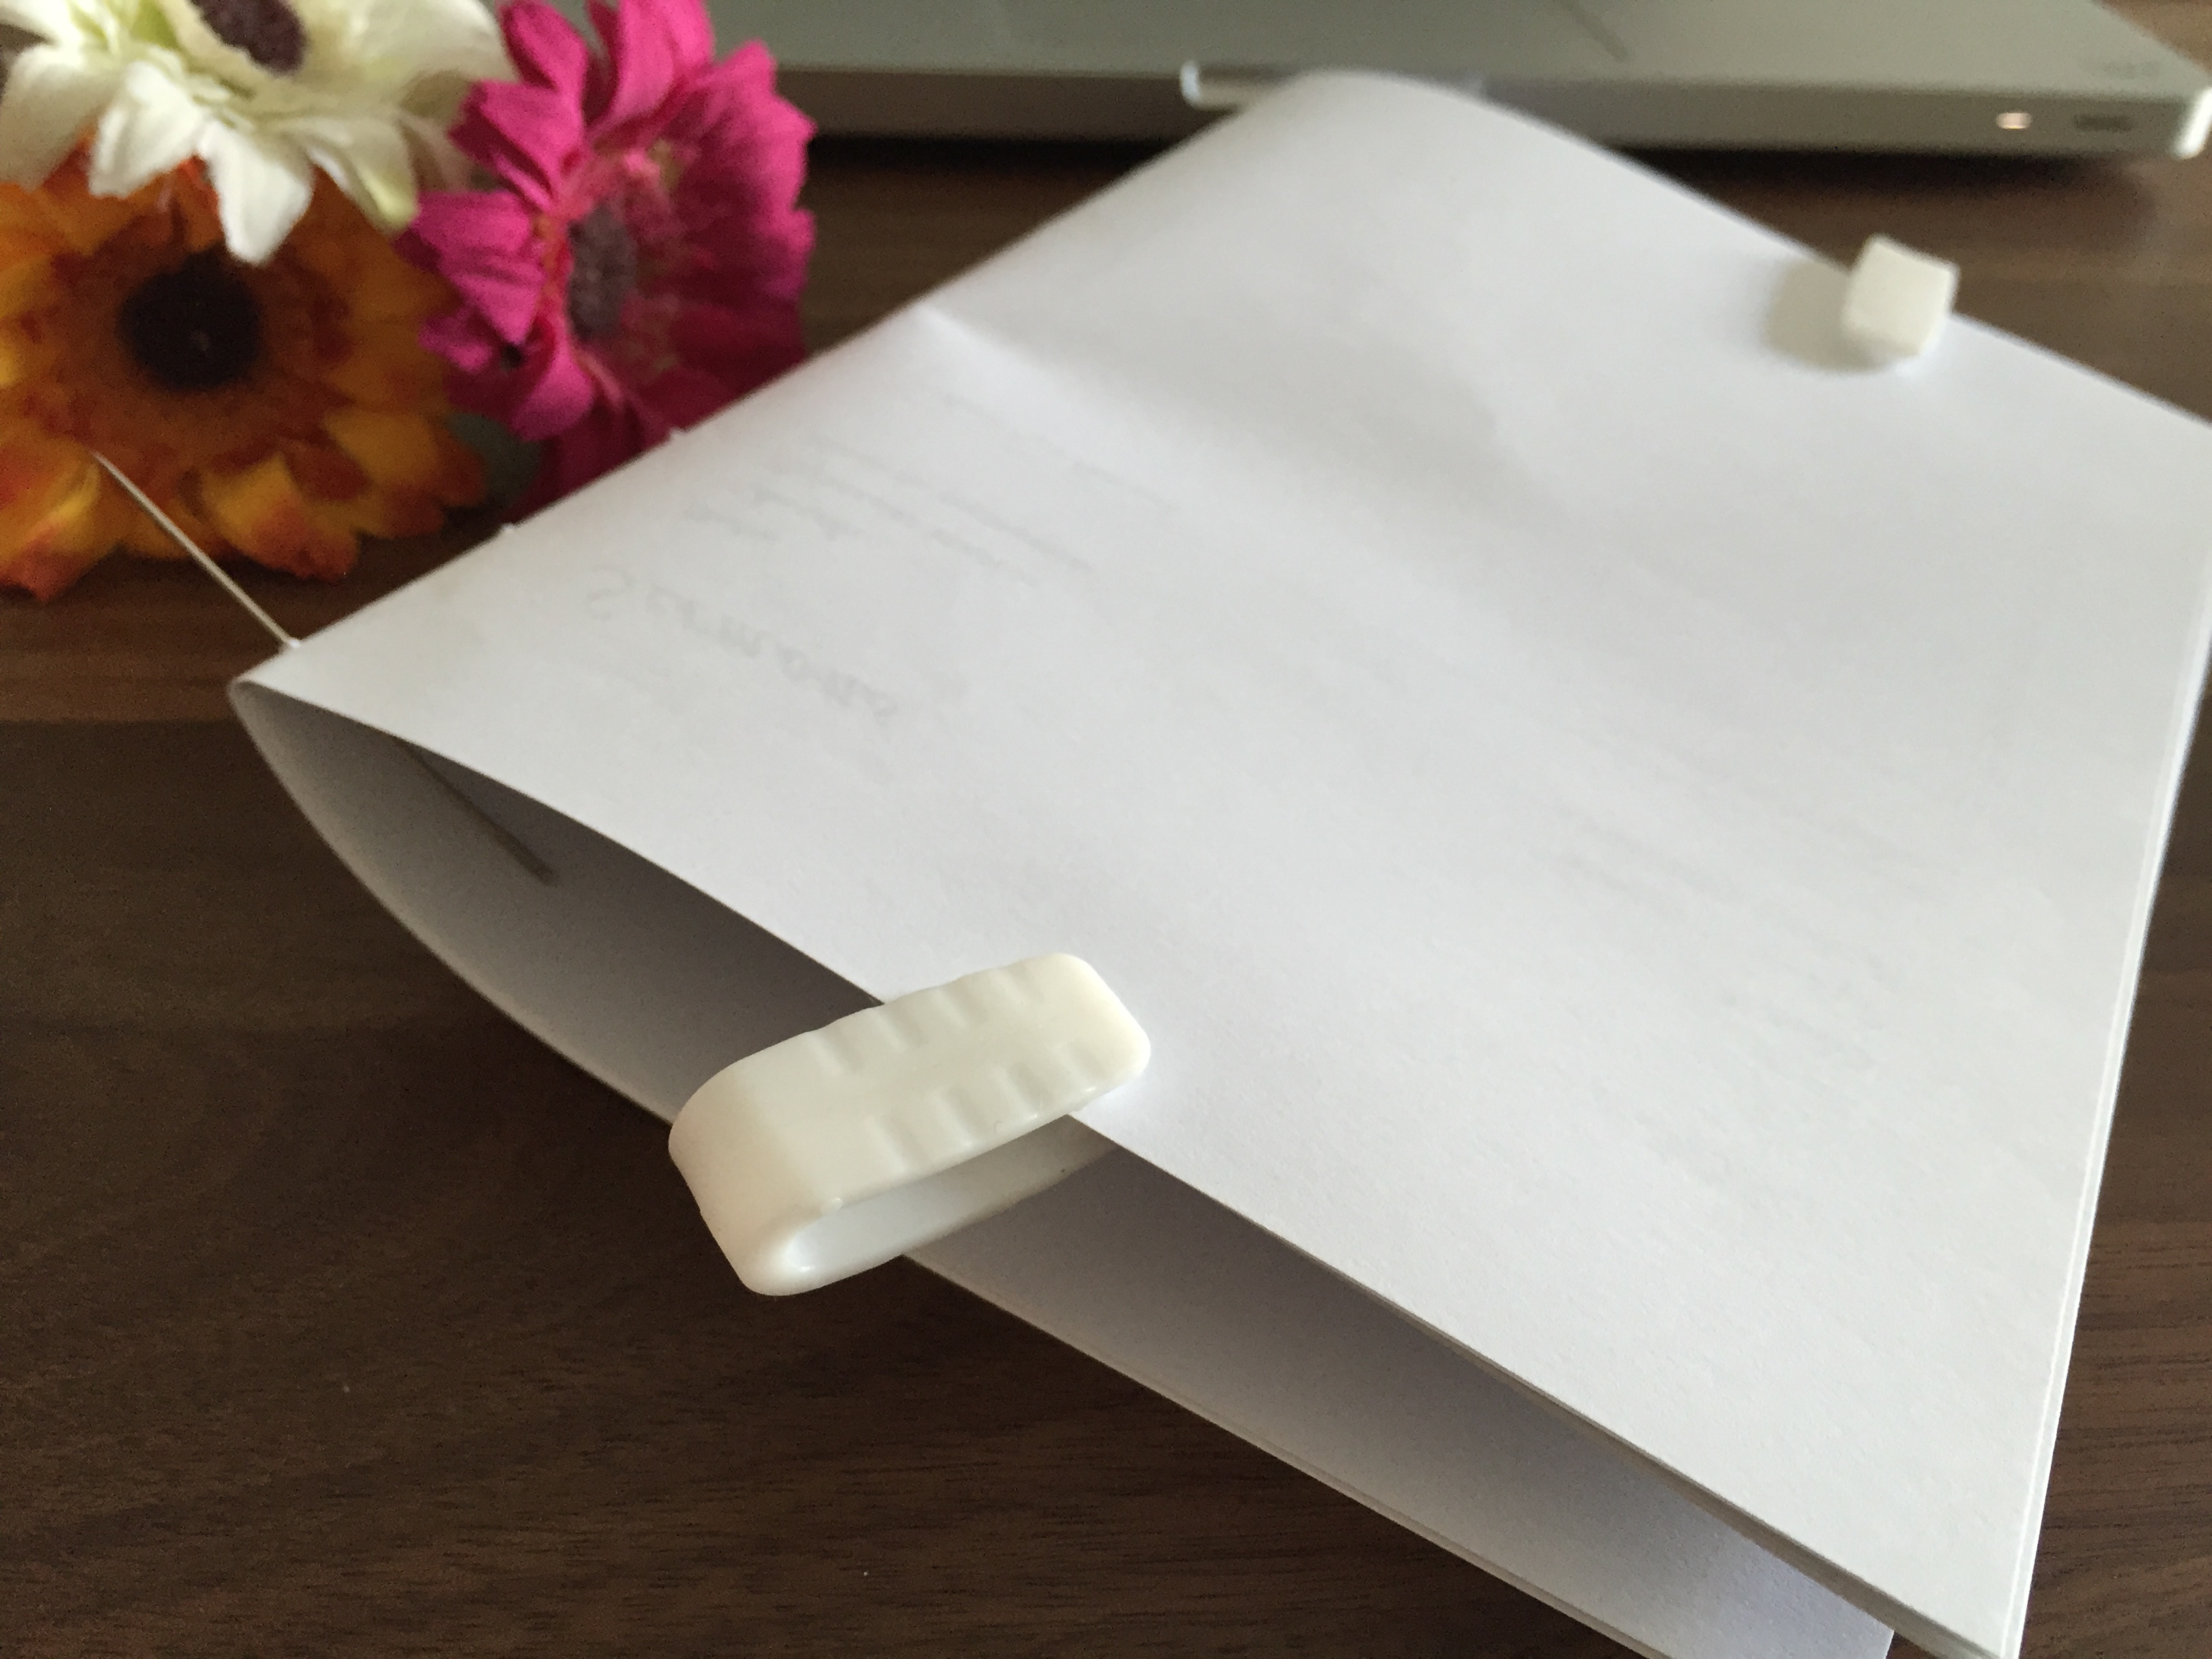
When you’re doing so, make sure you clip the papers together so that they stay aligned.

Photo 16-1-15 1 56 29 pm

I then thread through the holes with a piece of thread about 3 times as long as the length of the booklet.

Photo 16-1-15 2 01 10 pm

Here’s how the binding looks like in the middle pages.

Photo 16-1-15 2 04 29 pm

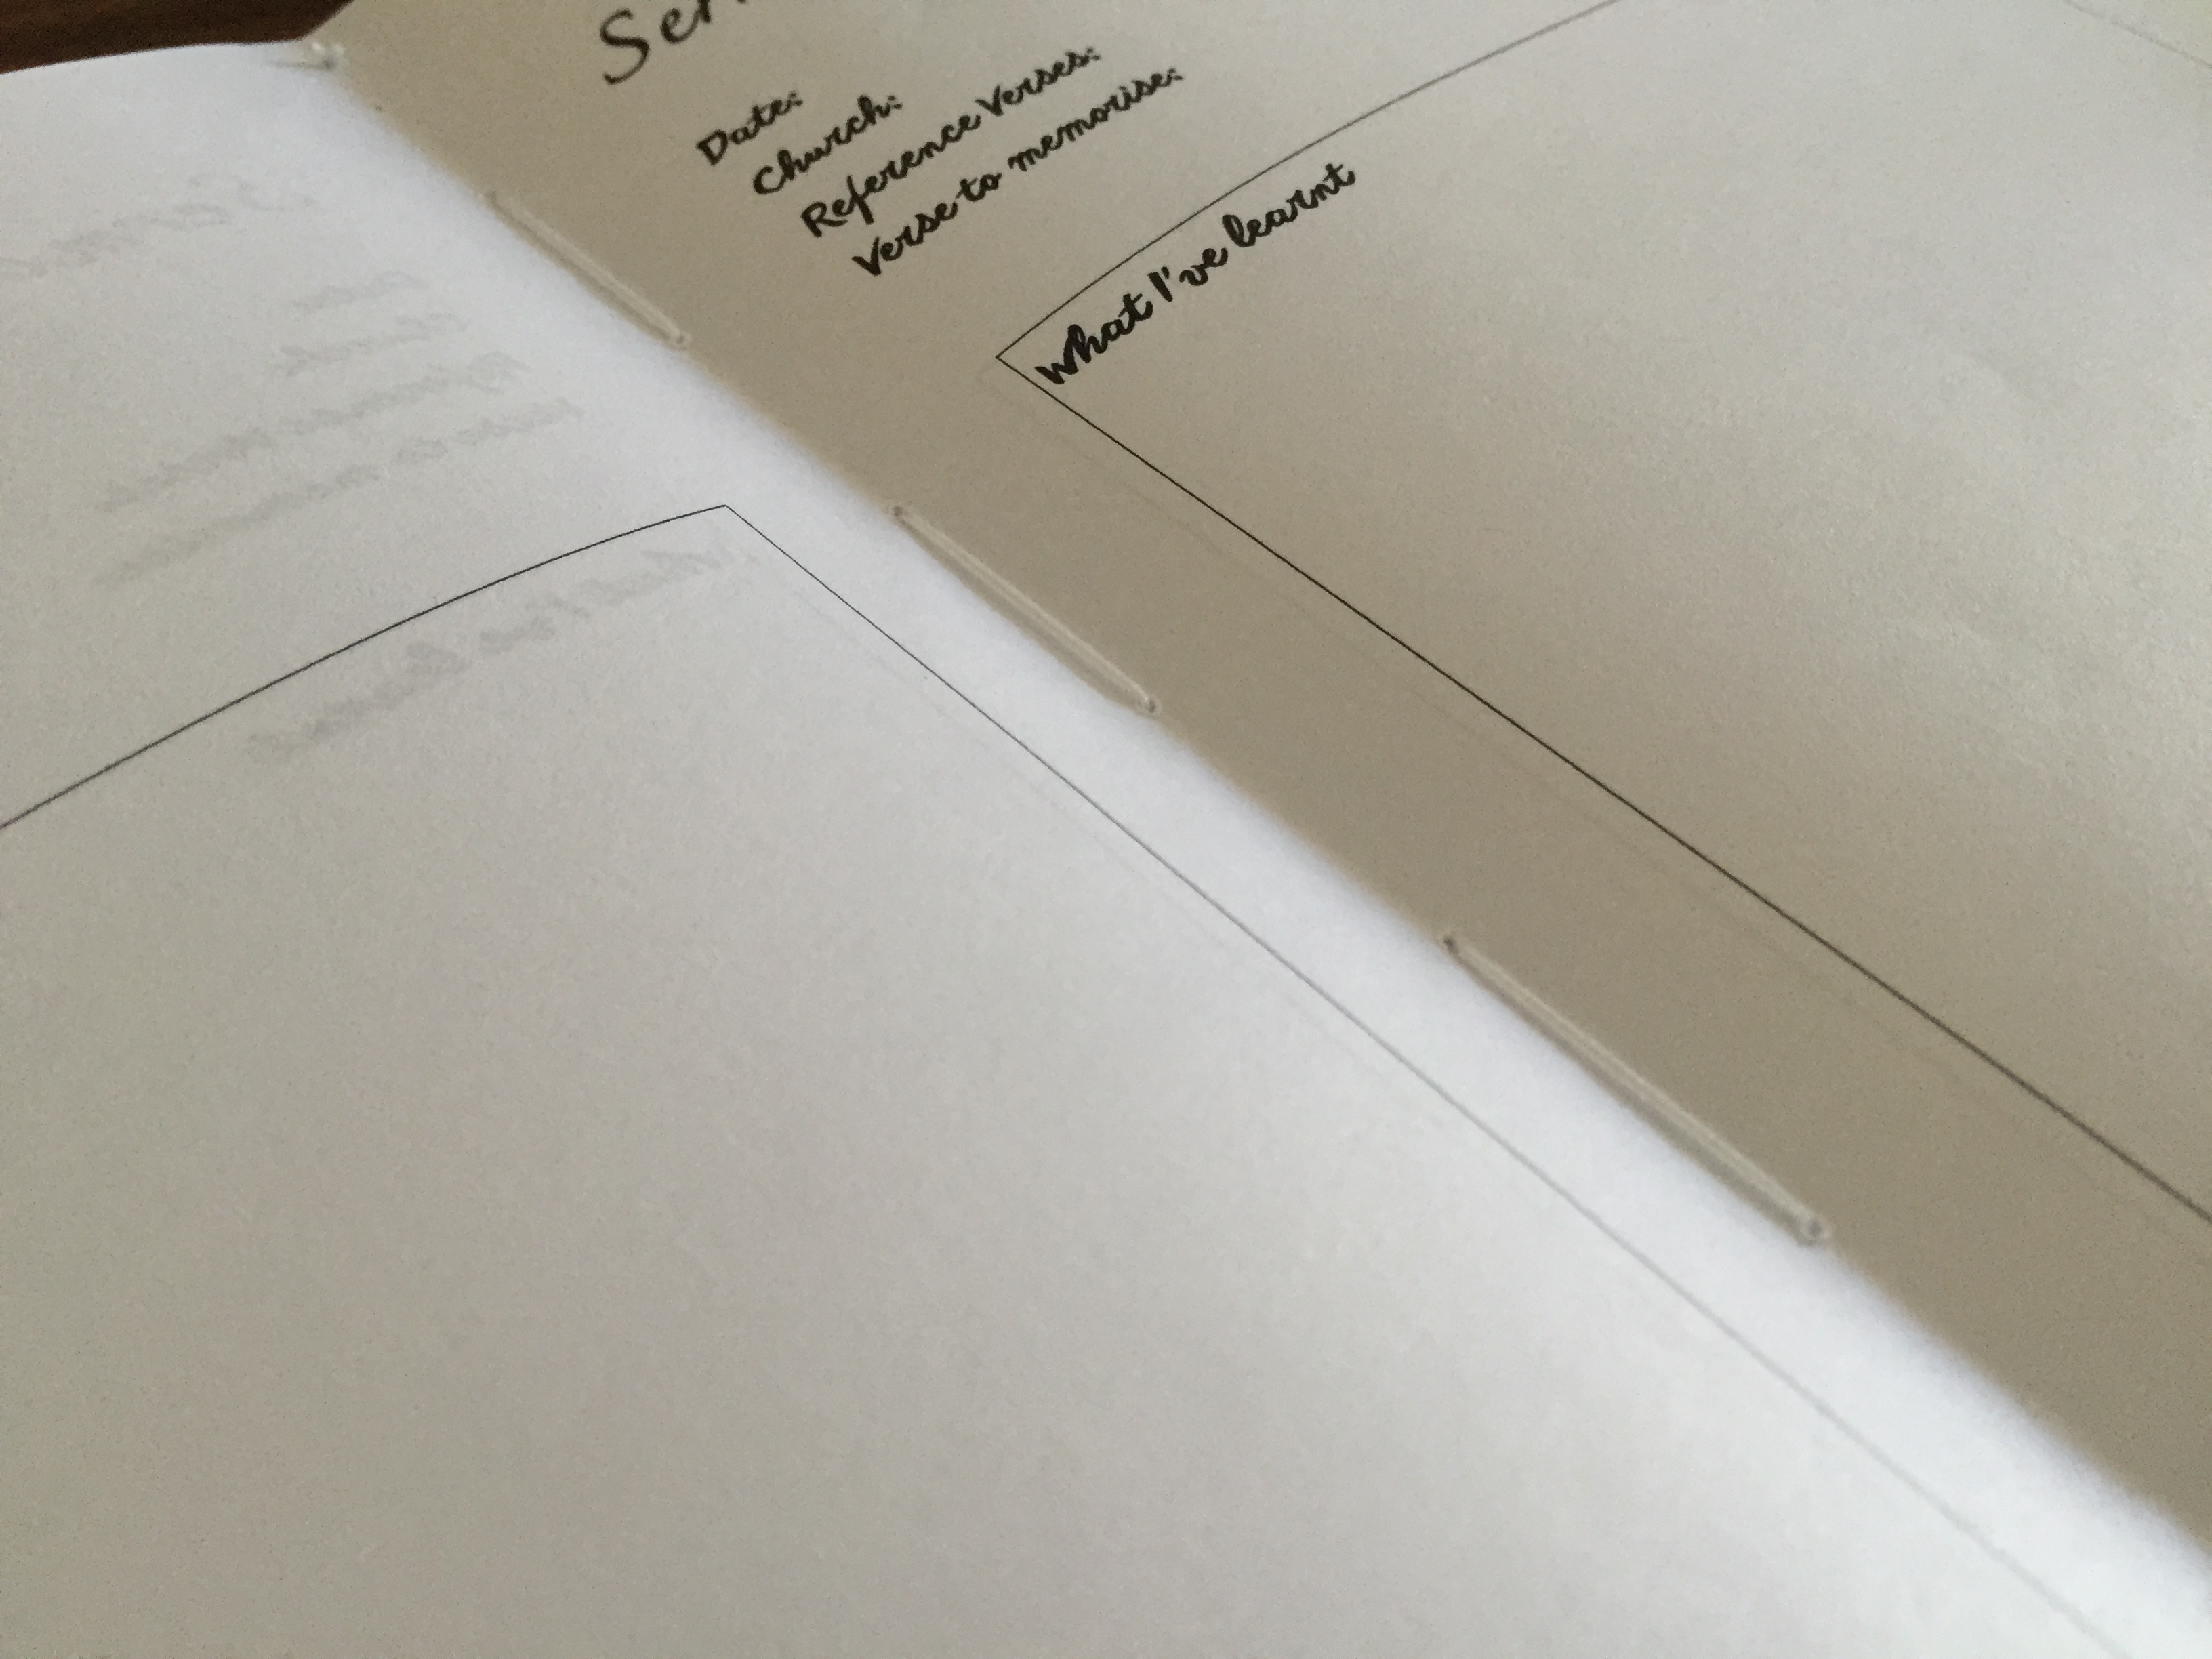
It’s a relatively cheap and easy way to keep the sheets together 🙂

Photo 16-1-15 2 04 41 pm

See who is as excited about the prayer notebook as I am!

Photo 16-1-15 2 32 59 pm

Photo 16-1-15 2 31 43 pm

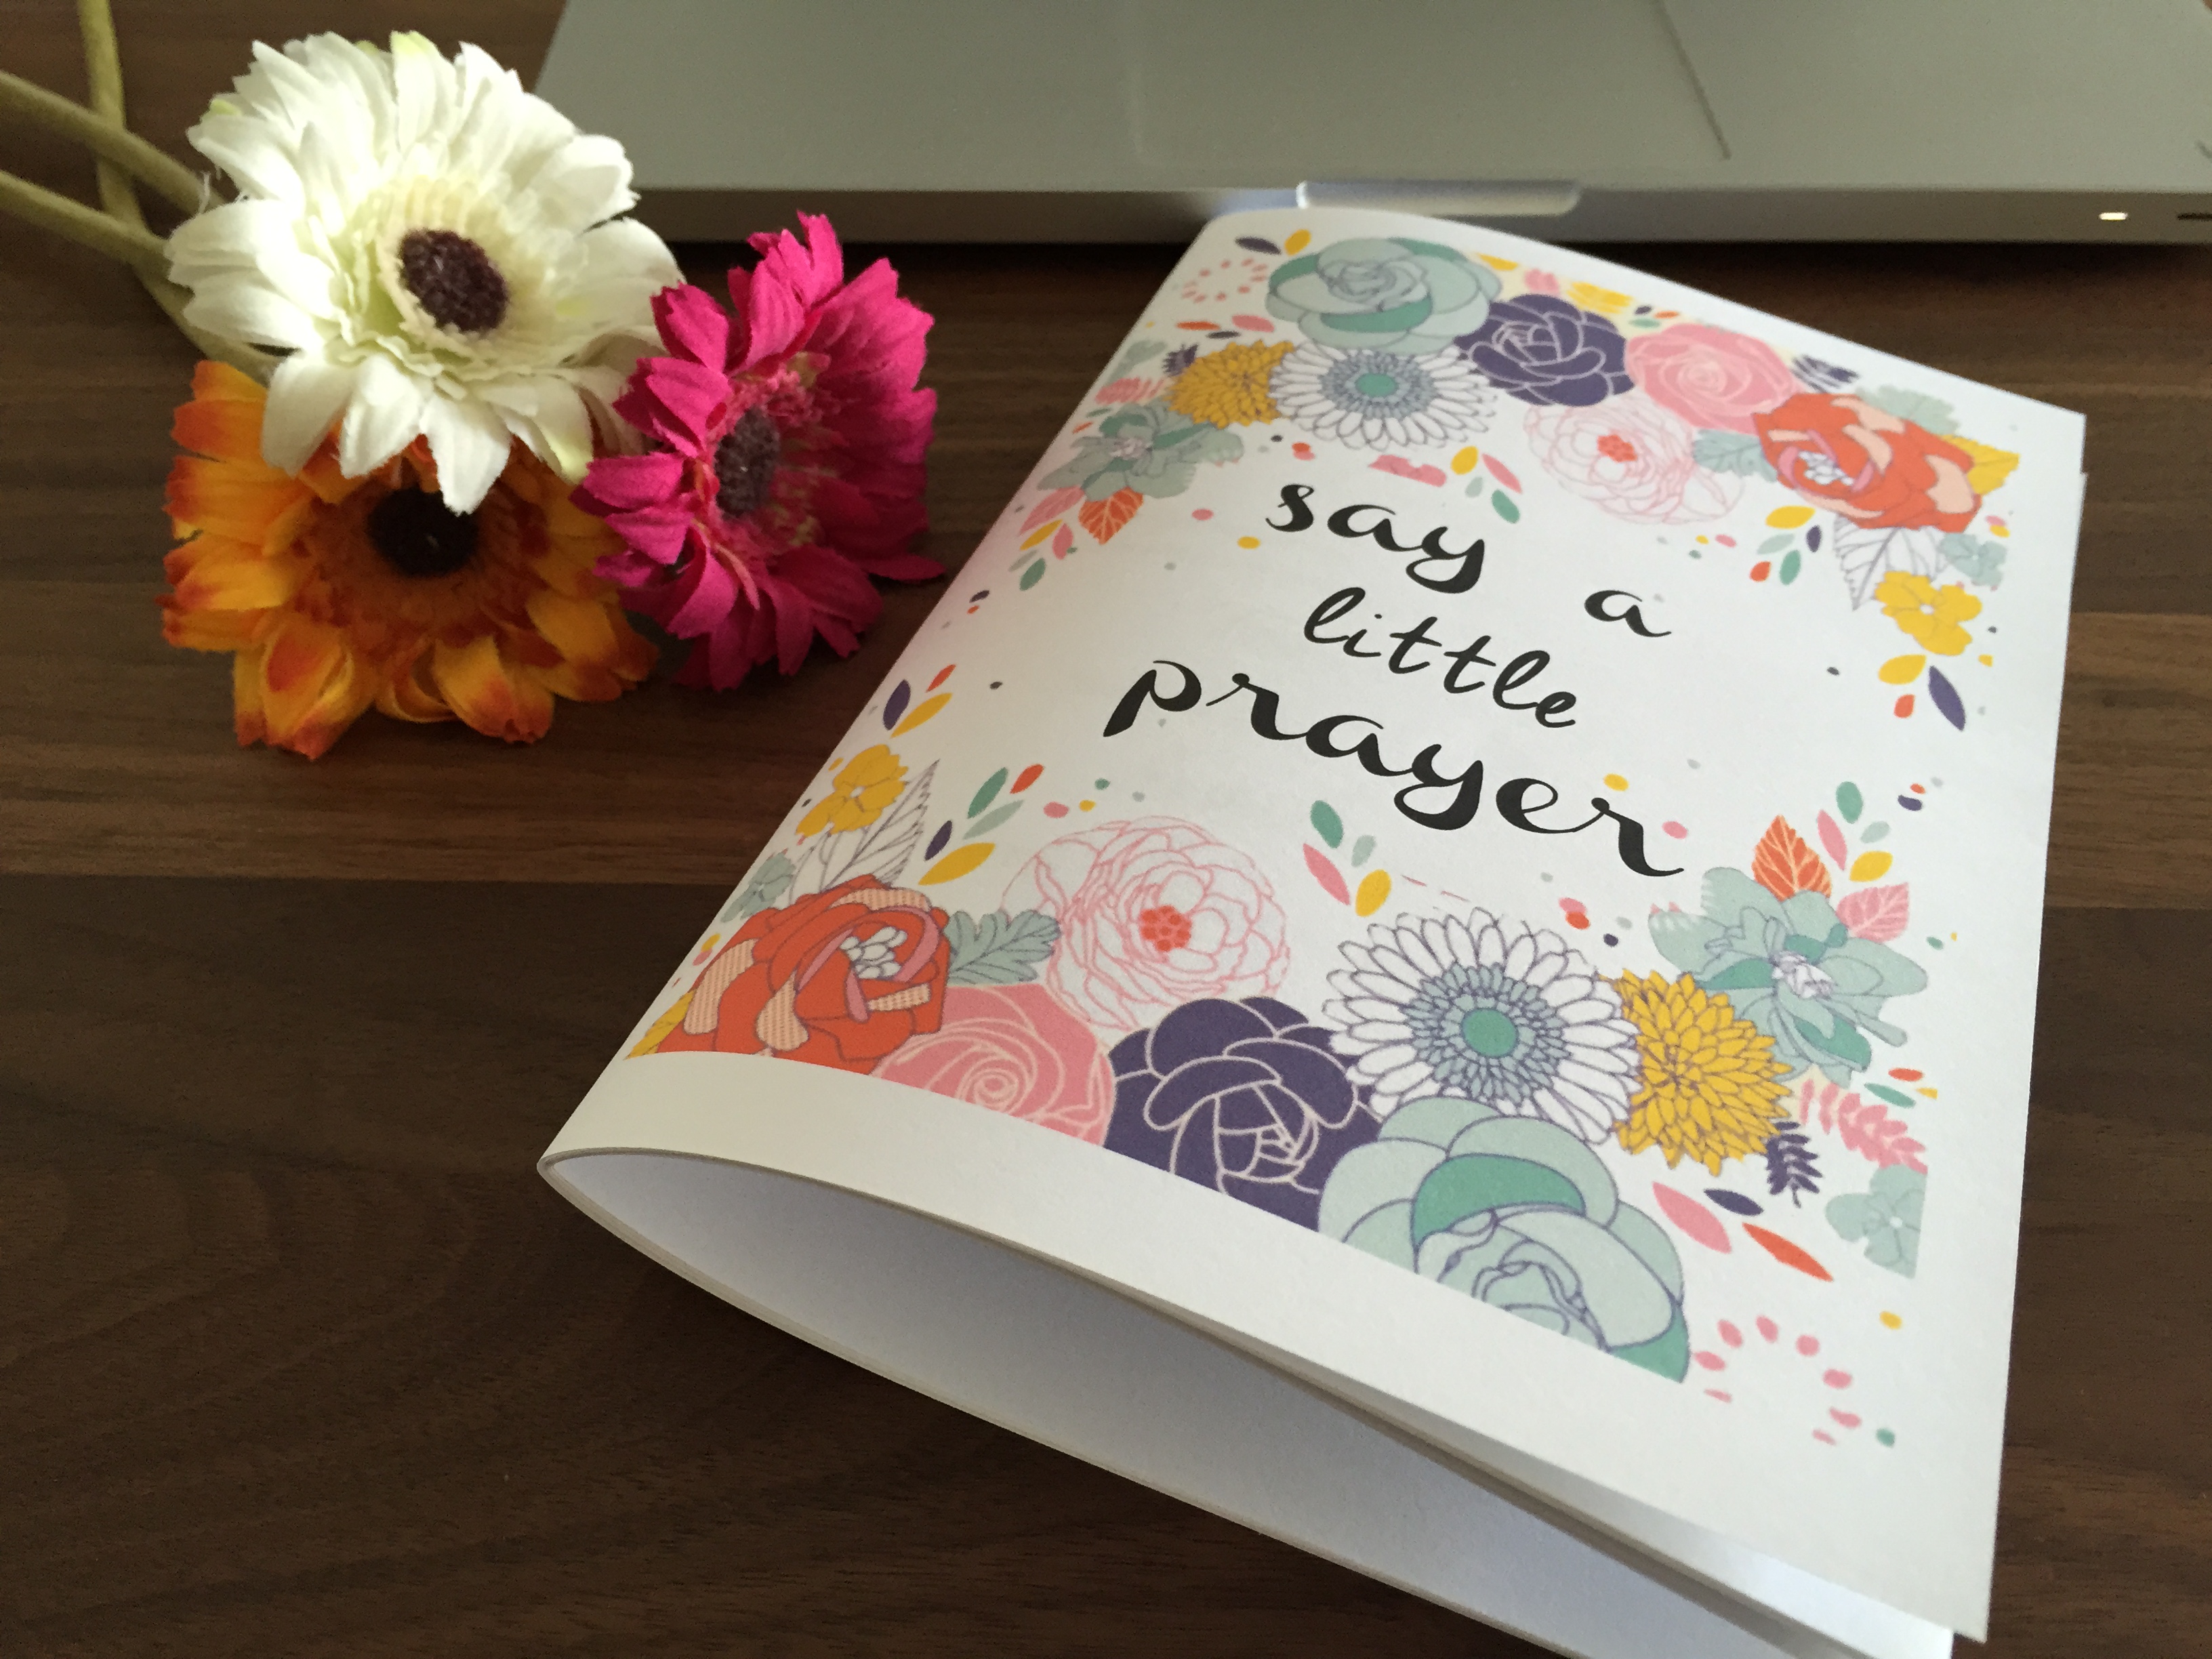
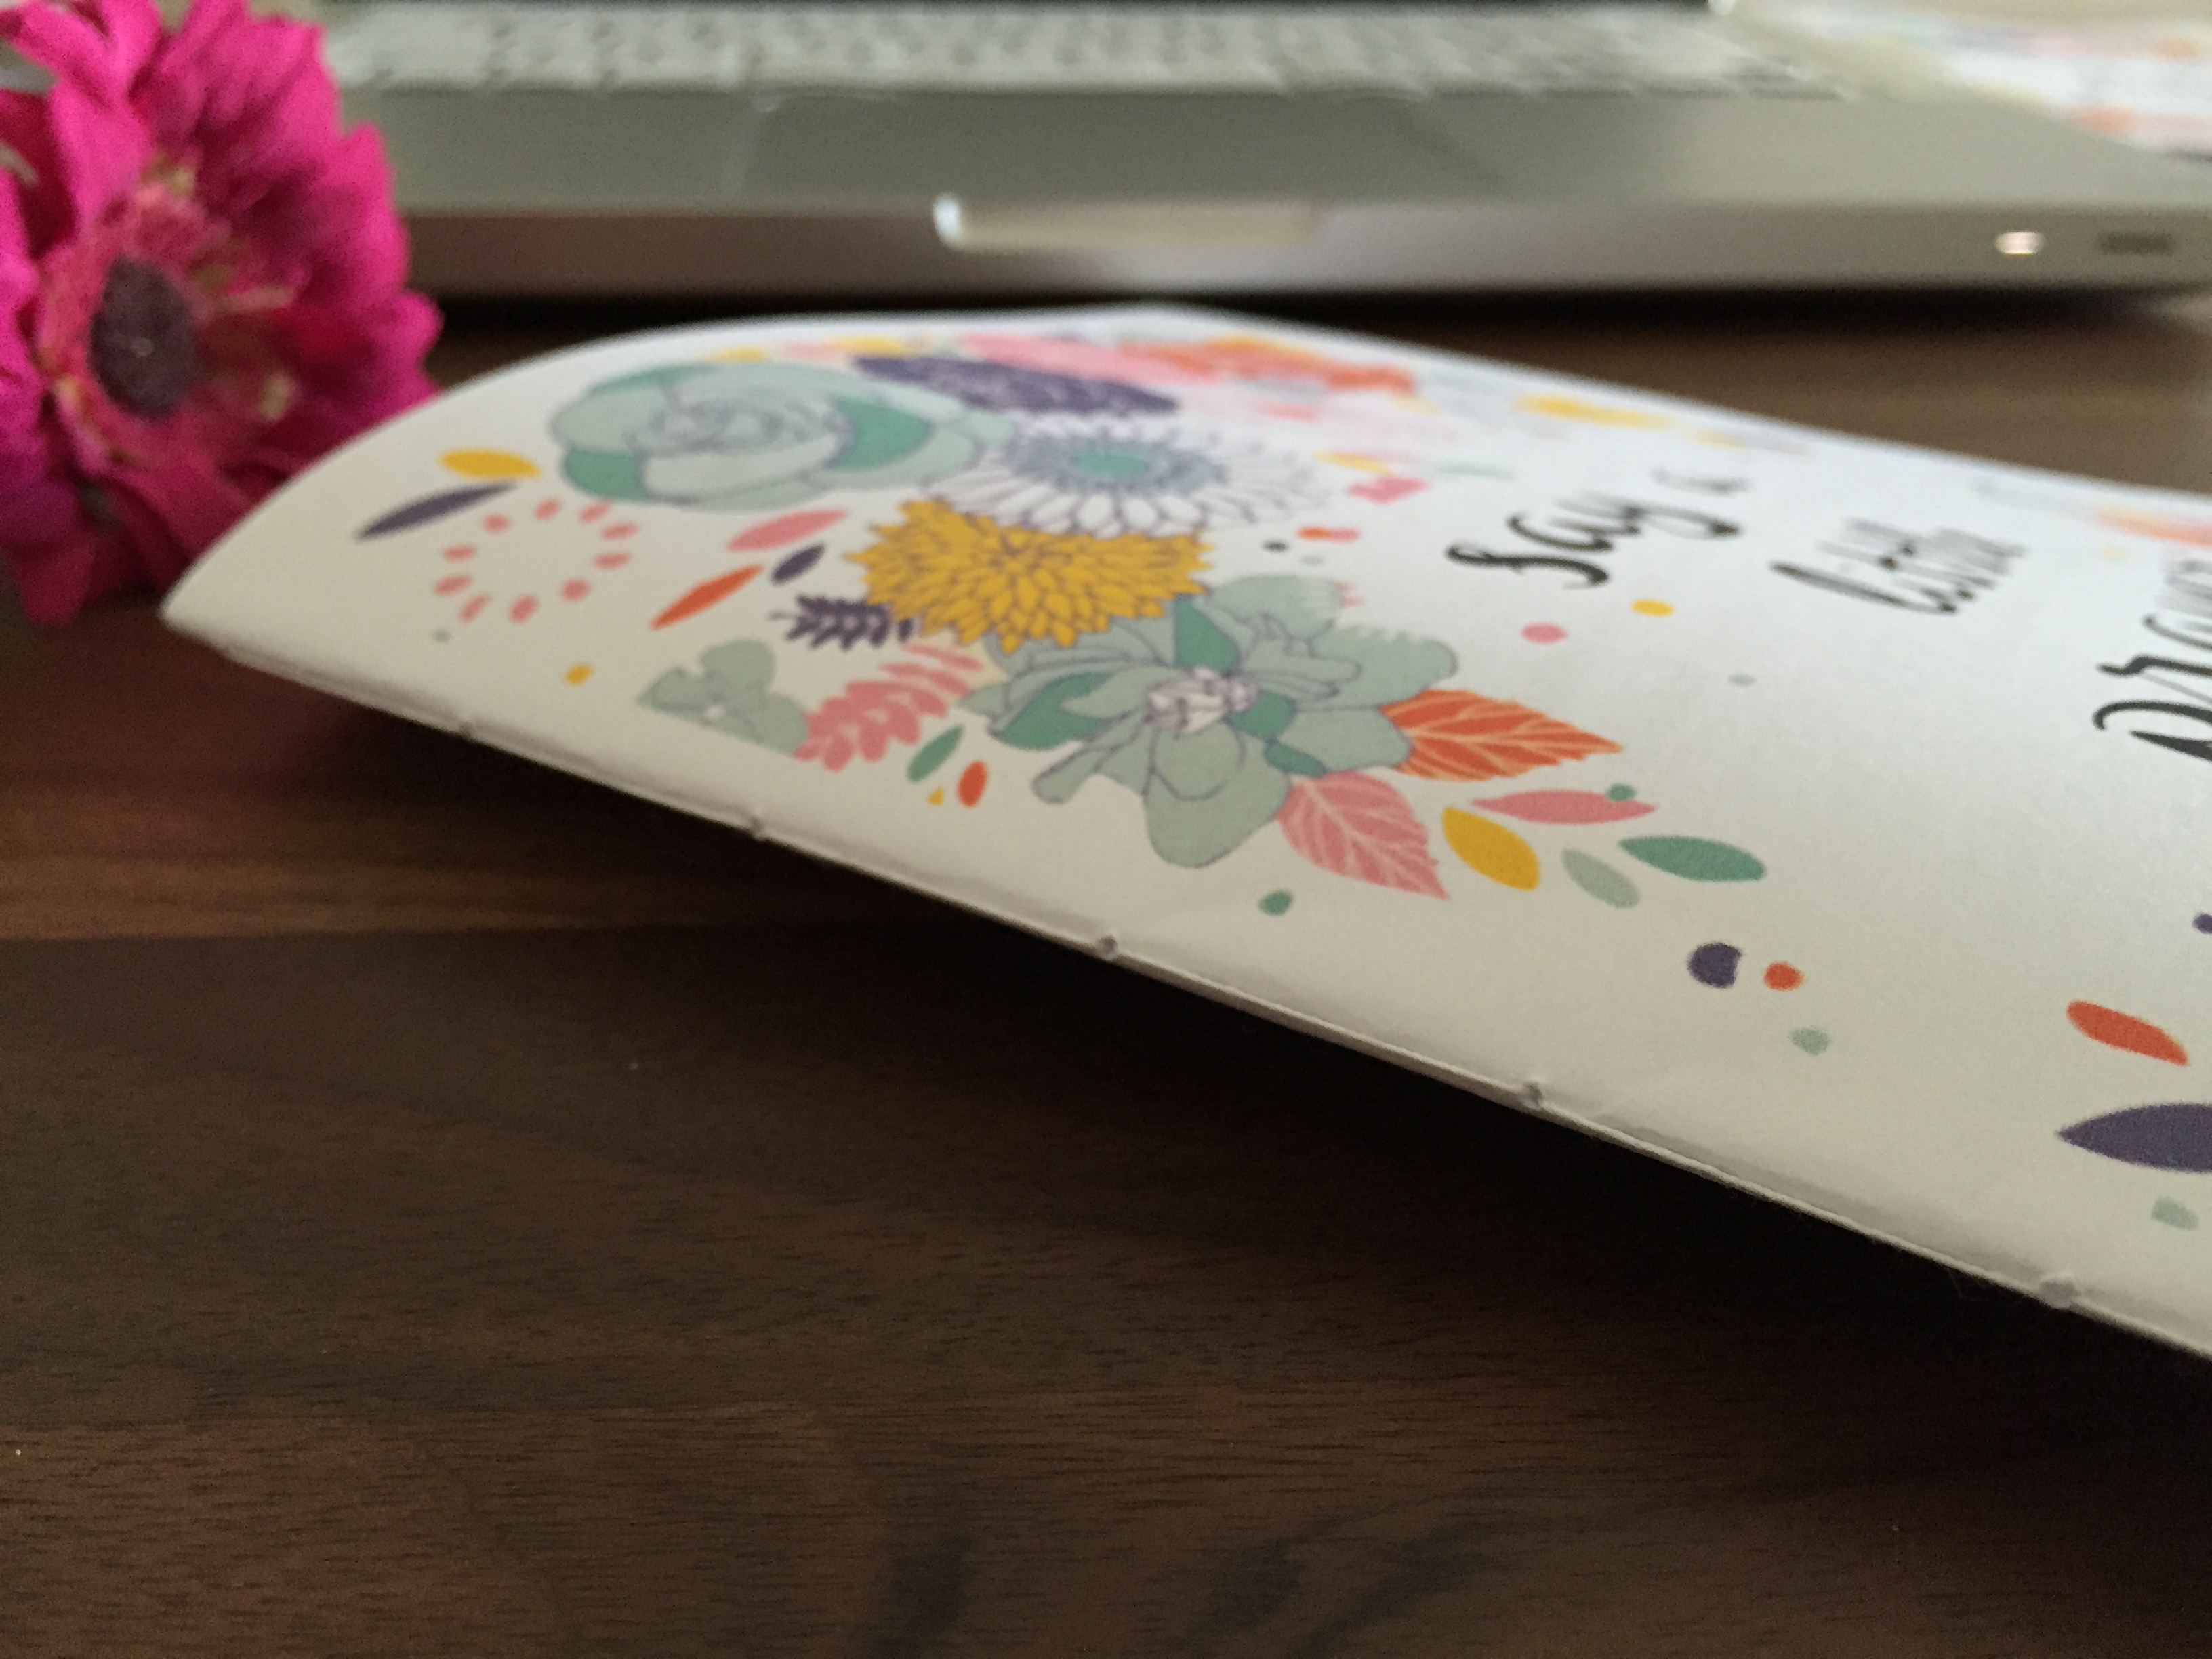
It’s a very simple project which only took me less than half a day from conception to printing and binding. I wish I have better editing tools to make the cover page nicer but I’m ok with it being this way for now 🙂

In case any of you are interested, you can leave a comment with your email address and I’ll send you the soft copy in Word document for you to print out and use. You can just customise it to suit your needs and choose to print as many pages as you like.

However, I’m using a macbook so the layouts and fonts may require some adjustments should you open it with Windows. If you don’t mind using it as it is, I can also send you the PDF version 🙂

Cheers to a new year and may we walk closer with God and grow stronger in faith!

Baby L – Laurent’s Baby Shower

Laurent had his baby shower last Saturday to celebrate his ‘full month’. Coincidentally, 9 August was also our ‘paktor’ (dating) anniversary because Wayne and I got together (officially) on 9 August 2007 🙂 7 whooping years ago! 

When I was still pregnant, I was already thinking about Laurent’s baby shower and diligently scouring Pinterest for inspirations.

I had 2 themes in mind – The Little Prince or Peter Rabbit.

Both themes were rather meaningful because Peter Rabbit reminded us of our visit to the hometown of Beatrix Potter, author of Peter Rabbit, at the beautiful Lake District. The Little Prince reminded us of Paris because, knowing that the story was originally written in French, we actually bought our first copy of Le Petit Prince in Paris. Both were among our favourite places from our honeymoon trip last year.

In the end, we decided on The Little Prince as the theme. Not because we think that Laurent is our little prince or that we regard him as royalty. But because of the deep, philosophical meaning behind the story, delivered in such beautiful, simple words and raw illustrations. And of course, the significance of Paris to the 3 of us 🙂 

While I wanted to make the party more personalised, I wanted to keep it simple as well. Hence, I only hand-made some simple decoration pieces. It did cross my mind to bake cupcakes and macarons for a desert table but I knew that would be too ambitious for someone who is still doing her confinement and having disrupted sleep for the past month. 

Here are some of the hand-made decoration pieces 🙂

Hand-written quotes from The Little Prince

OLYMPUS DIGITAL CAMERA

OLYMPUS DIGITAL CAMERA

OLYMPUS DIGITAL CAMERA

Party Banner

OLYMPUS DIGITAL CAMERA

OLYMPUS DIGITAL CAMERA

OLYMPUS DIGITAL CAMERA

Photo Line

BBL10 OLYMPUS DIGITAL CAMERA

Vases of Rose

(if you read the story, you’ll know that the flower was essentially what caused The Little Prince to leave his planet)

OLYMPUS DIGITAL CAMERA

And what’s a party without balloons?! We ordered 20 pieces of blue and gold balloons with gold and silver stars attached to match the theme from One Party Store. So glad we did because the children loved them and we’re glad we could ask them to bring home the balloons as souvenirs 🙂

OLYMPUS DIGITAL CAMERA

OLYMPUS DIGITAL CAMERA OLYMPUS DIGITAL CAMERA

Food was catered from Rasel Catering and their service was great (except for being about 15 mins late for our 2nd round of food). They were very prompt in getting back on our queries and order and knowing that we had a theme, they even try to arrange for the table cloth to match the colours of the theme. There were even roses in their fresh flower arrangement 🙂

I didn’t eat much that day so I can’t really comment on the food, but the general comments from our guests were rather positive and some of the items ran out pretty fast.

OLYMPUS DIGITAL CAMERA

We had 2 rounds of catering because we arranged for our friends and colleagues to come in the morning and family and relatives to come in the afternoon due to the space constraint. 

We were extremely thankful for everyone who came to share our joy and showered Laurent with oohs, ahhs, hugs, kisses and gifts. As well as the presence of all the little ones who came with their daddy and mummy to share this special day with Laurent 🙂 It will be so amazing to see the little boys and girls growing up together and become friends in the future! 

It was such a liberation for me to have sooooo many people to talk to after close to 1 month of confinement. I had such a great time catching up with everyone!

And also, big thanks to my dear girlfriend, Xue Mei, for being my unofficial photographer 😀

OLYMPUS DIGITAL CAMERA OLYMPUS DIGITAL CAMERA OLYMPUS DIGITAL CAMERA OLYMPUS DIGITAL CAMERA OLYMPUS DIGITAL CAMERA OLYMPUS DIGITAL CAMERA OLYMPUS DIGITAL CAMERA

Thank you everyone, once agin, for all the lovely presents and heartfelt messages 🙂 And thank God for the beautiful weather that day and that Laurent was able to practically sleep through the party (you know how cranky little ones can get if they do not have enough of those vitamin Z)! OLYMPUS DIGITAL CAMERA

I wish that as Laurent grows up, he will remember the way he loved, laughed, and enjoyed the simplest and most colourful moments as a child. And that, like the Little Prince, he is able see beyond the pseudo-important things in the world and understand what truly matters. That his imagination will never die –  so that he can see the elephant inside the boa constrictor, and know that it is more than just an outline of a hat. 

“All grown-ups were once children… but only few of them remember it.” 
― Antoine de Saint-Exupéry, The Little Prince


[Crafts & DIY] 1st Hand-tied Bouquet

I’m not a huge fan of store-bought bouquets, but I adore fresh-cut flowers.

When we first moved into the apartment, I’d make it a point to buy some fresh-cuts for the house every week 🙂 It is rather convenient as we have a floral market right next to our house.

Photo 25-5-13 11 18 40 PM

When I first started, I’d just buy a single type of flower and stick the bunch into the vase. I slowly became more interested in combining different colours and types of flowers, especially after I started flower-shopping at the bigger floral markets along Thomson Road 🙂

Since the pregnancy, I haven’t been that diligent in bringing the blooms home because to prolong the beauty of these babies, you need to treat the flowers properly when you first bought them and diligently change the water every day and trim the stems.

My last attempt at arranging flowers was on Valentine’s Day. I love the sweet, pastel colour of the bunch but after reading up about flower arranging, I see some problem with the arrangement – particularly the overly-florished (or crowded) foliage a the bottom of the vase.

IMG_4006

About a week back, I was shopping online for some lovely bouquets to order for my parents-in-law’s wedding anniversary. Saw a gorgeous bunch which costs a gasping $150. So I had this crazy idea to attempt at putting together a hand-tied bouquet on my own.

The night before the anniversary celebration, we went shopping at the flower market to ensure that the flowers are fresh and nice but, unfortunately, that was a day right after Mother’s Day and seemed like all the more interesting flowers are out of stock 😦

I had a colour scheme in mind for the bouquet so we just picked some different flowers based on that. I also picked up some proper tools for the job such as the florist’s scissors, wires and tapes.

I was mad excited to start! But first, I had to trim and treat the flowers to ensure that the stems are not too long to work with and that the thorns from the roses and leaves from the lower part of the flowers are removed. This allows the flowers to absorb water better and the leaves and stem will be less likely to rot due to prolong contact with water.

My excitement worn off quite a bit when I was trimming the thorns from the 5th rose in the batch of 20 -_- Honestly, that was not my idea of fun, and it needed A LOT of patience.

After finally treating and trimming all the flowers that night, I left them in vases about 1/3 filled with water and popped a panadol into the water as I heard that it helps to keep the flowers fresh.

Woke up bright and early for the real action the next day!

OLYMPUS DIGITAL CAMERA OLYMPUS DIGITAL CAMERA

OLYMPUS DIGITAL CAMERA

As you can see, I cheated a little 😛 The hydrangea is  already in a gorgeous round shape so I used it to guide the shaping of my bouquet, slowly adding the roses and carnations around to fill up the spaces.

OLYMPUS DIGITAL CAMERA

When creating a round hand-tied bouquet, remember to add each new stem into the bouquet at an angle so that the stems also form a circular shape at the bottom.

OLYMPUS DIGITAL CAMERA

Hold the arrangement tightly and adjust the height of the individual stems if necessary. I used a couple of wires and florist tape to keep the arrangement in shape.

OLYMPUS DIGITAL CAMERA OLYMPUS DIGITAL CAMERAAnd finally, as with the best part of preparing a present, the wrapping!

I chose 2 colours of tissue wrapper. The pale yellow to contrast with the bright tones of the bouquet and the pink to compliment the carnations.

OLYMPUS DIGITAL CAMERA OLYMPUS DIGITAL CAMERA

I had wanted to add a pale yellow silk ribbon to finish off the bouquet but could not find it at home, so I used the twine. The shape and arrangement was not as organic as I had liked it to be,  but I love the colours and the touch of rustic from the twine 🙂

OLYMPUS DIGITAL CAMERA OLYMPUS DIGITAL CAMERA

I was left with about 1/3 of the flowers which could not fit into the bouquet so I gladly placed them on the TV console 🙂 With proper trimming and changing of water, the blooms are still in full glory till today!

OLYMPUS DIGITAL CAMERA

OLYMPUS DIGITAL CAMERA

So is it more worth it to build your own bouquet compared to buying one? Here’s a cost break-down for those who are curious:

20 Roses – $15 (I used about 12 stalks)
20 Carnations – $12 (I used about 12 stalks)
1 Hydrangea bunch – $10
Wrappers – $8 for 10 sheets (I used 3 pcs)

Effectively, for less than $50, you can create 1 big and 1 small bouquet. But in terms of effort, it really depends if you’ll enjoy the process 🙂 I enjoyed most part of it (yes, except the thorns pruning part) so I am definitely looking forward to creating my next bouquet when I get the chance!

If you wish to give flower arranging a shot, HGTV provides a bunch of really useful links on that 🙂

Have fun!